The Goods Shed
The goods shed was built from scratch out of plasticard (styrene sheet) and was based on pictures of the original prototype.
Here's a couple of the pictures I worked from:
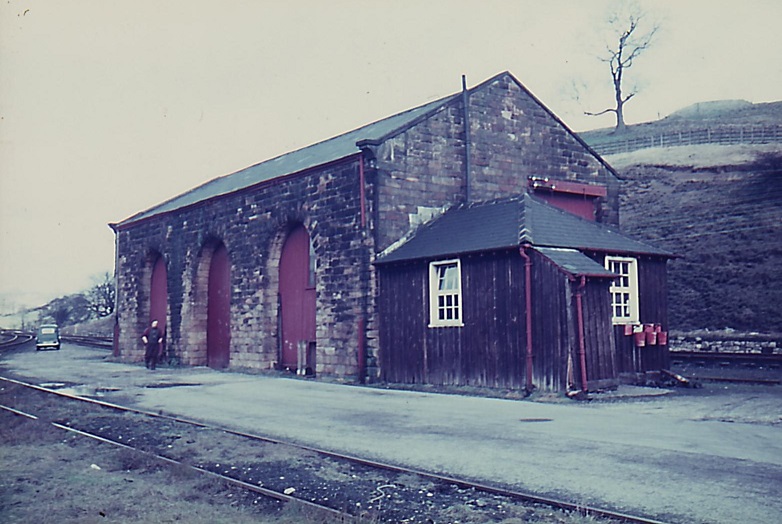

(All photographs of the prototype used on this page are copyright Stan Roberts Collection / Peak Rail Association, used with permission)
Construction
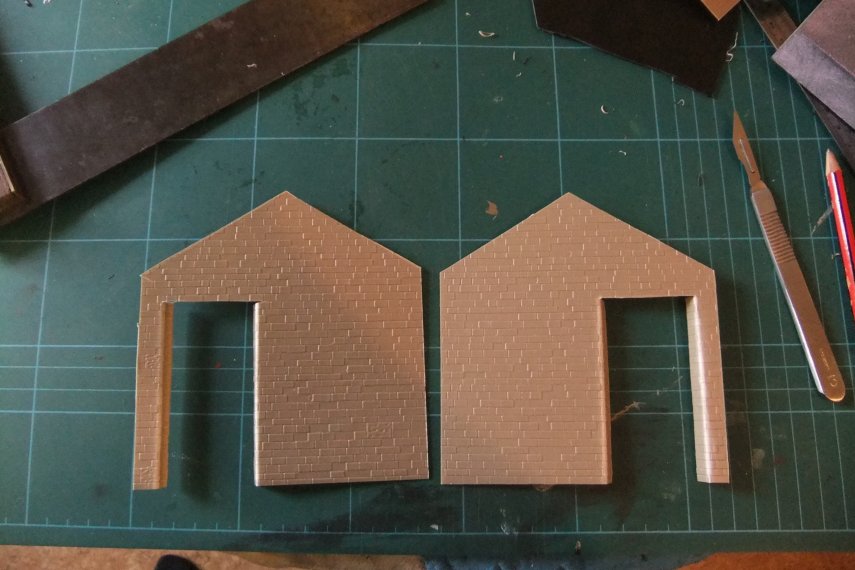
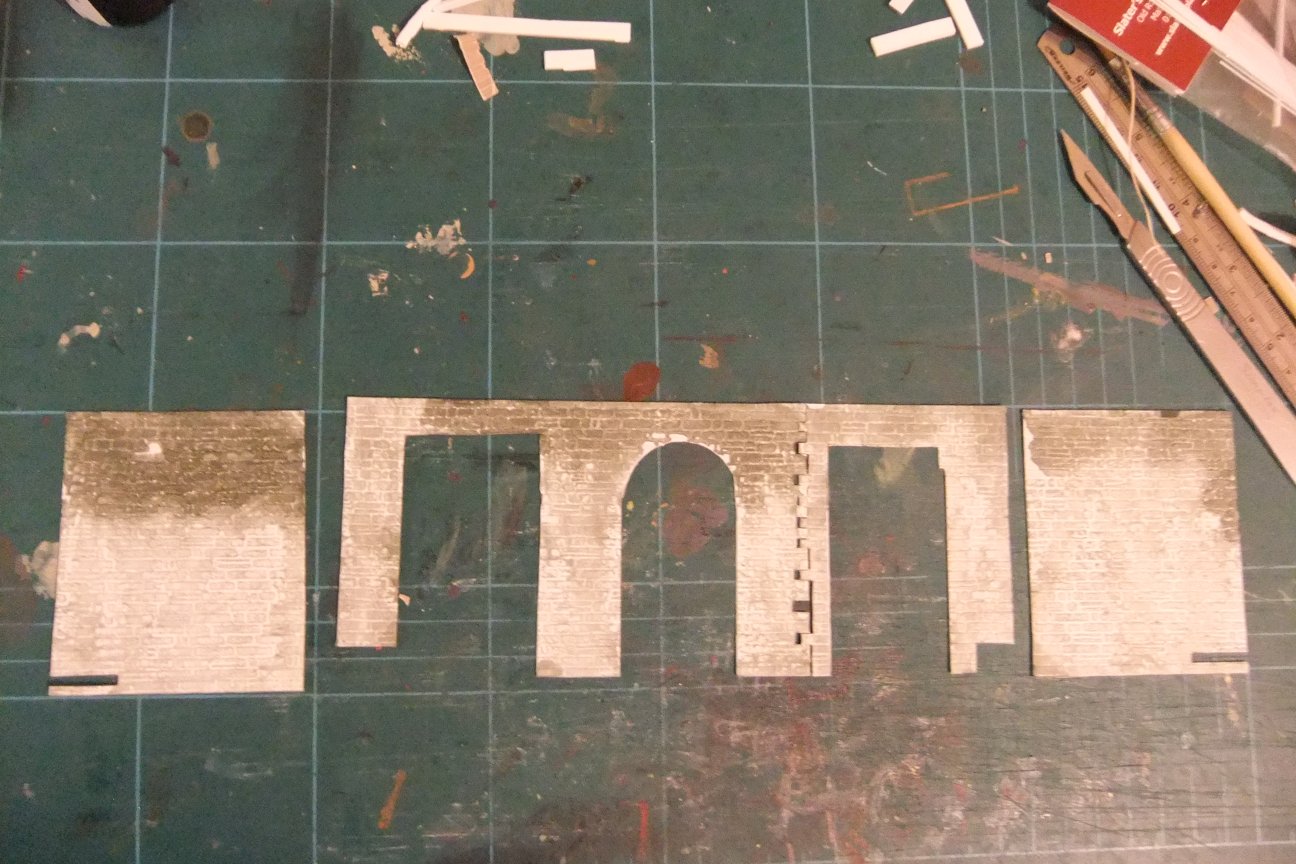
Using 80thou (2mm) black styrene, I started with the gable ends.
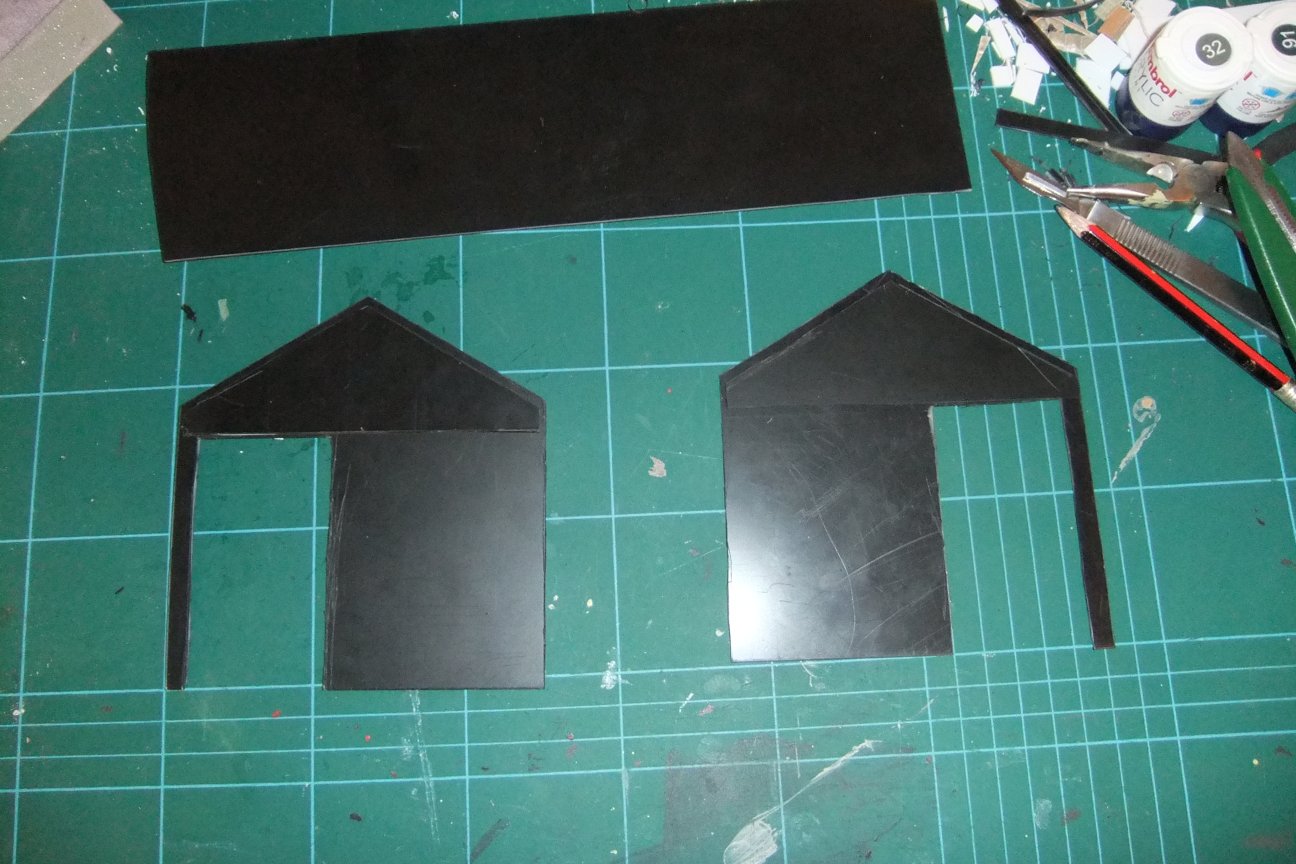
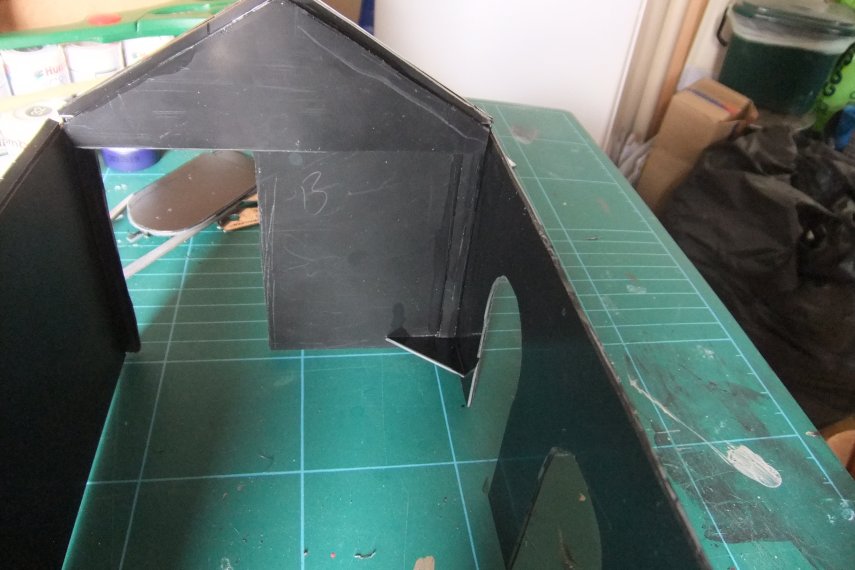
I made the top section of the gables with multiple thicknesses, to get the required bulk for the gable walls, which are visible above the roof at each end.
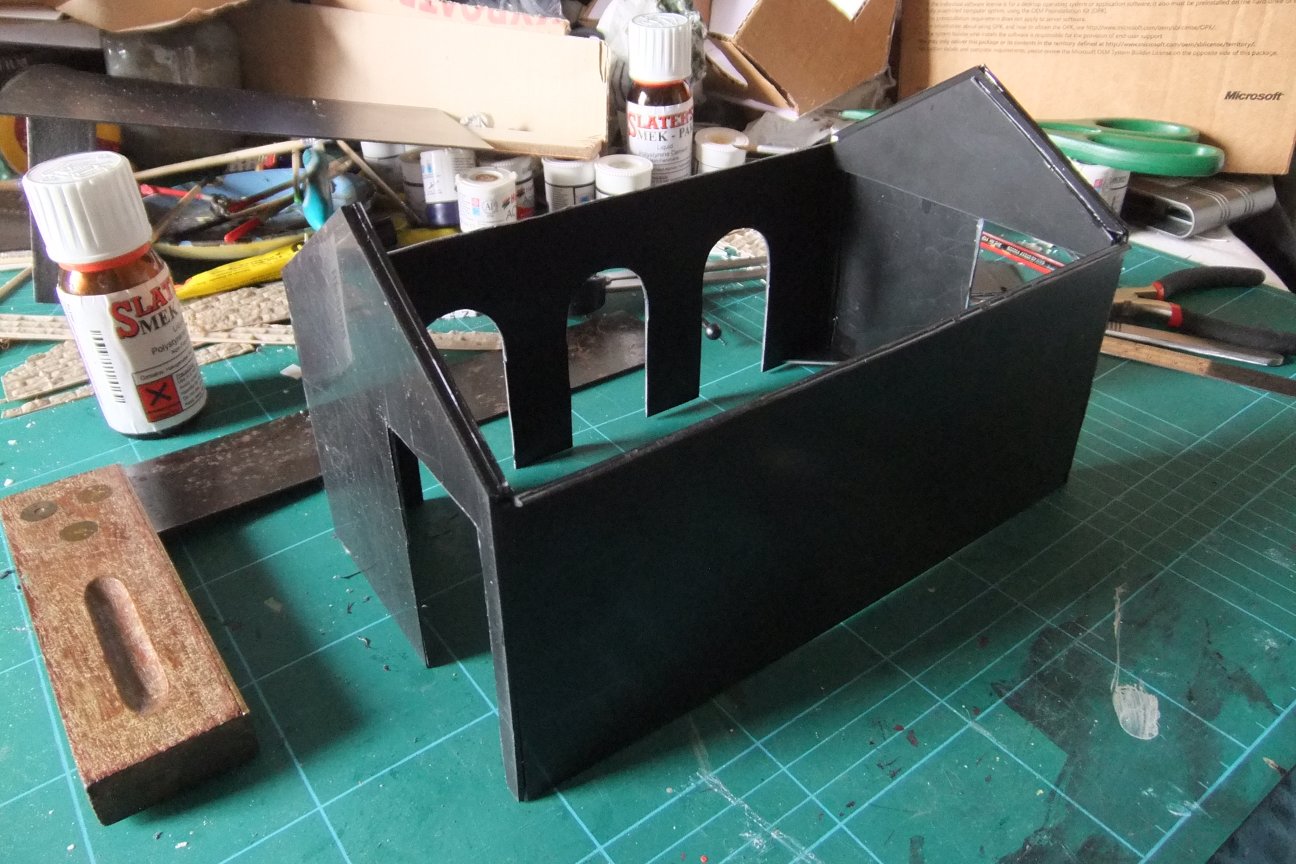
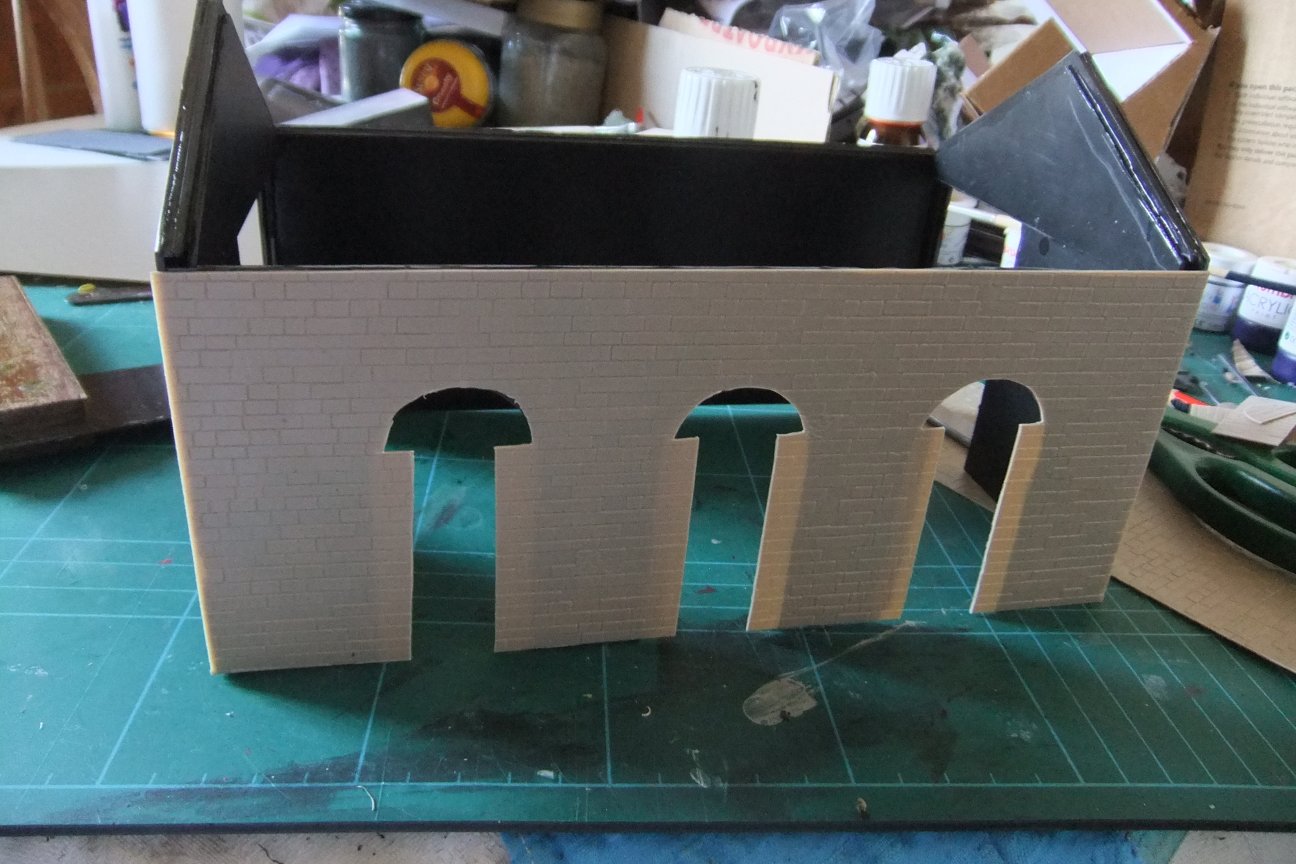
I then added the sides, just long sections of the black styrene, joined with triangular fillets in the corners for strength.
Using a sharp scalpel and a pair of dividers, I cut away the arched doorways from one side.
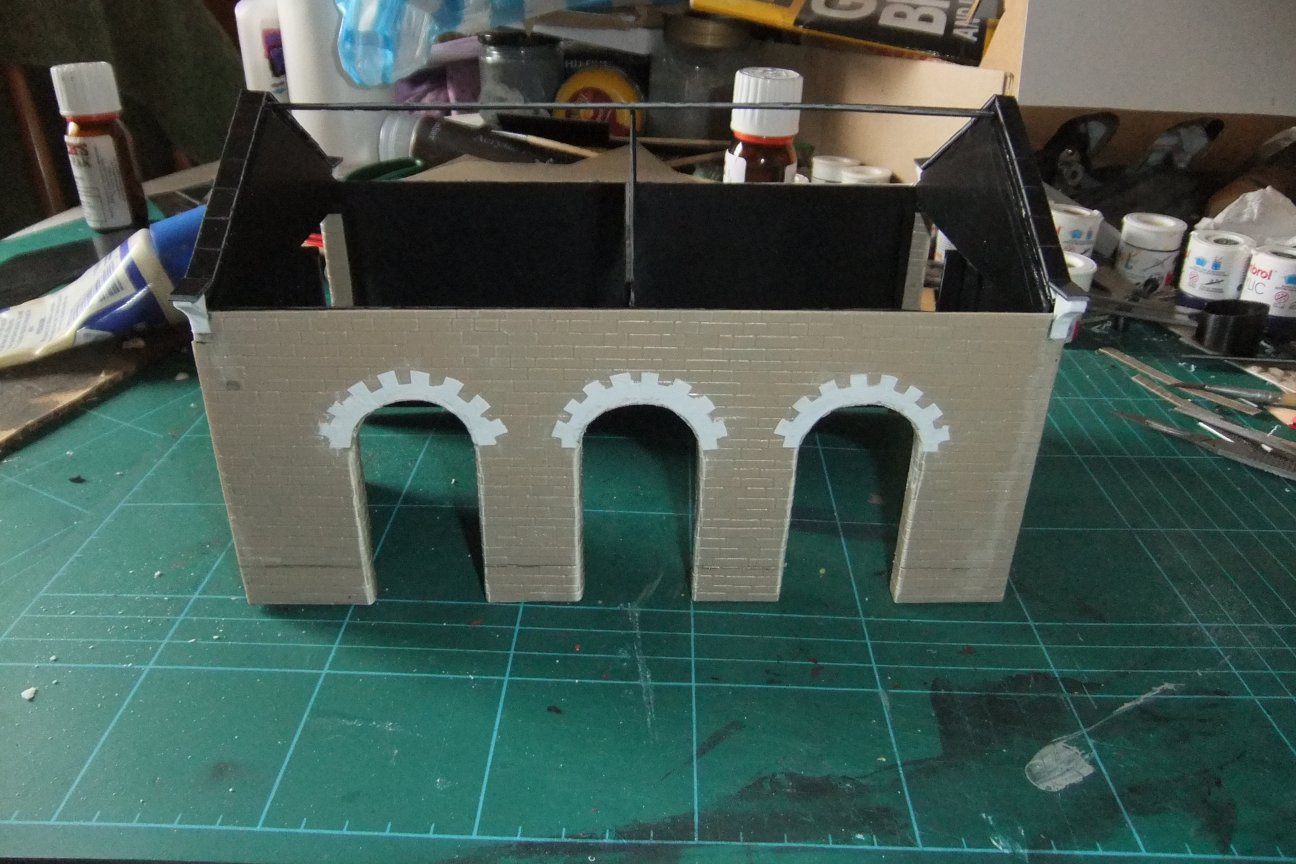
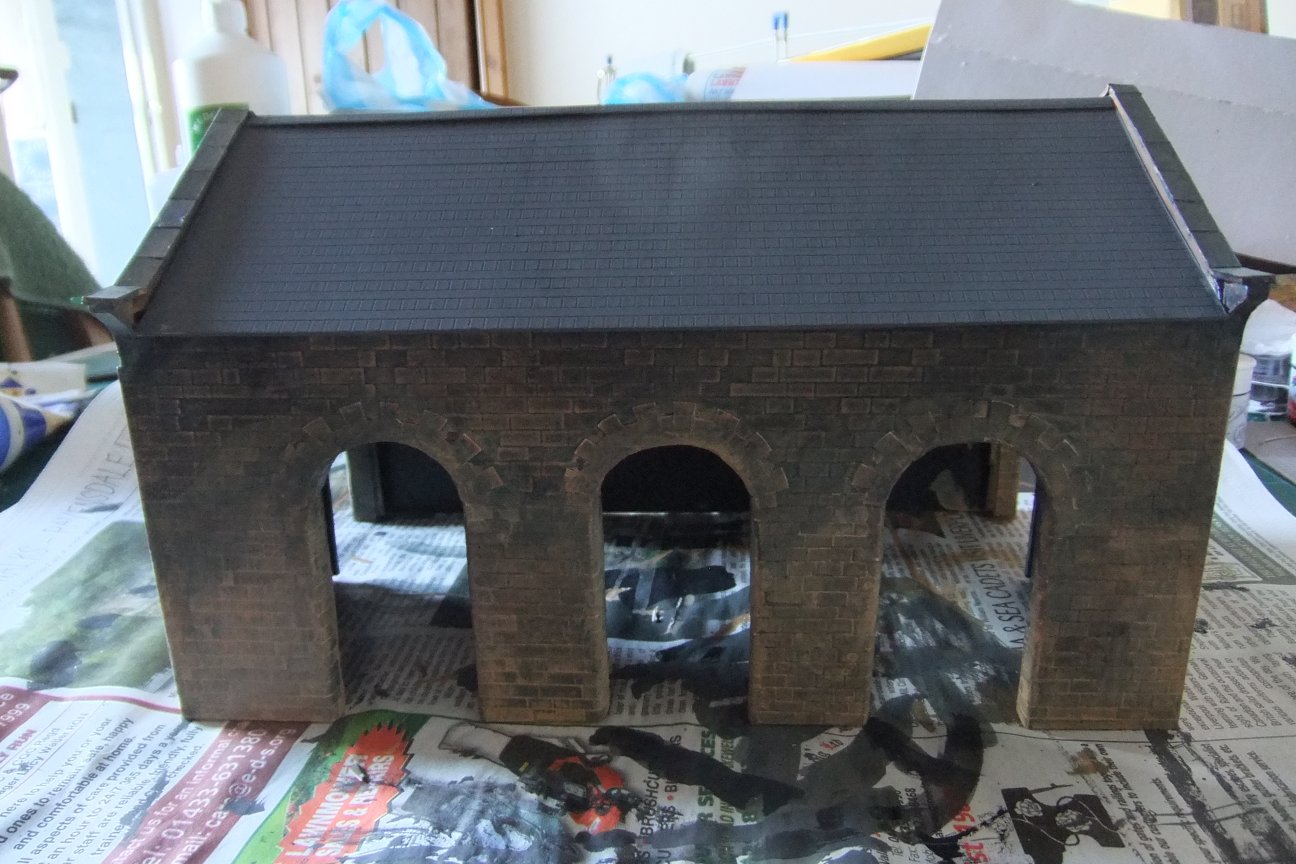
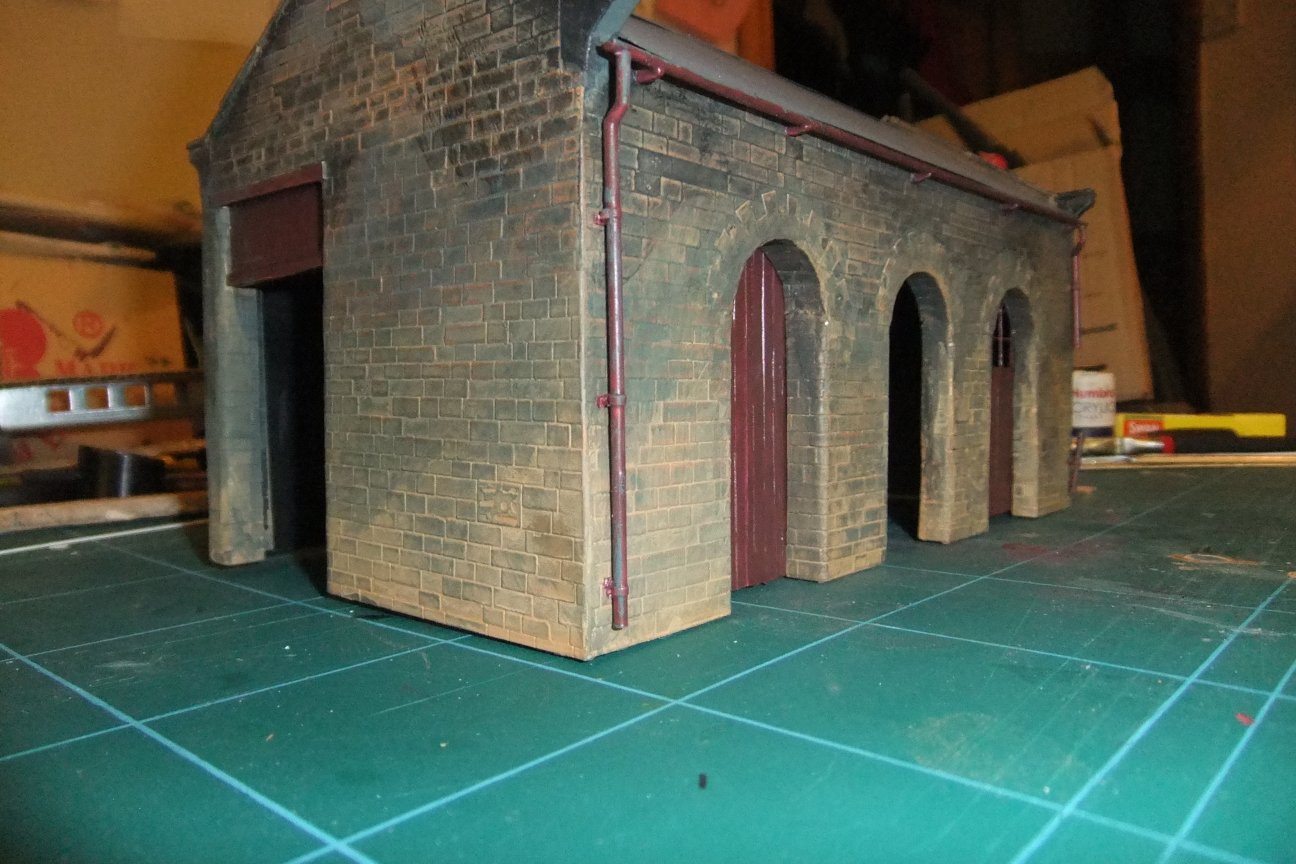
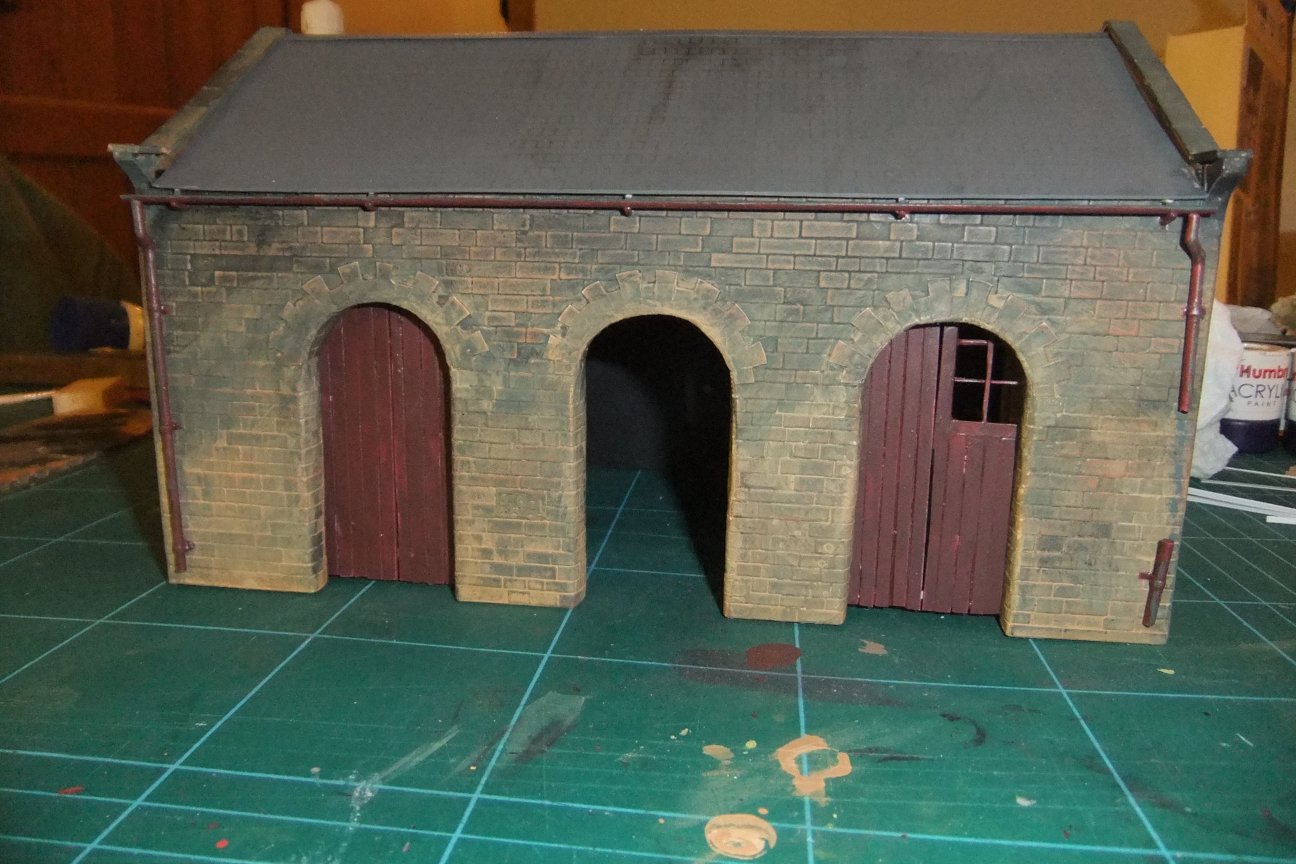
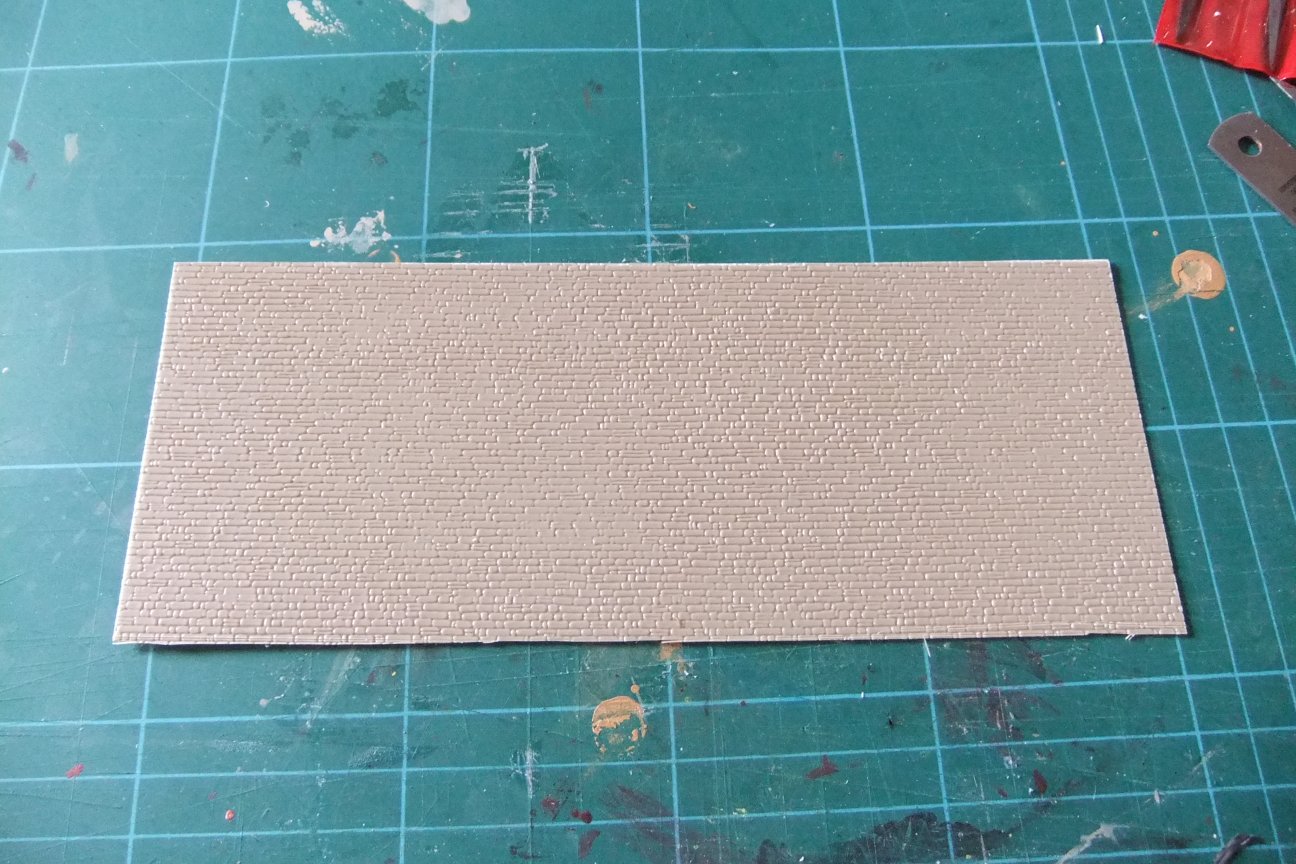
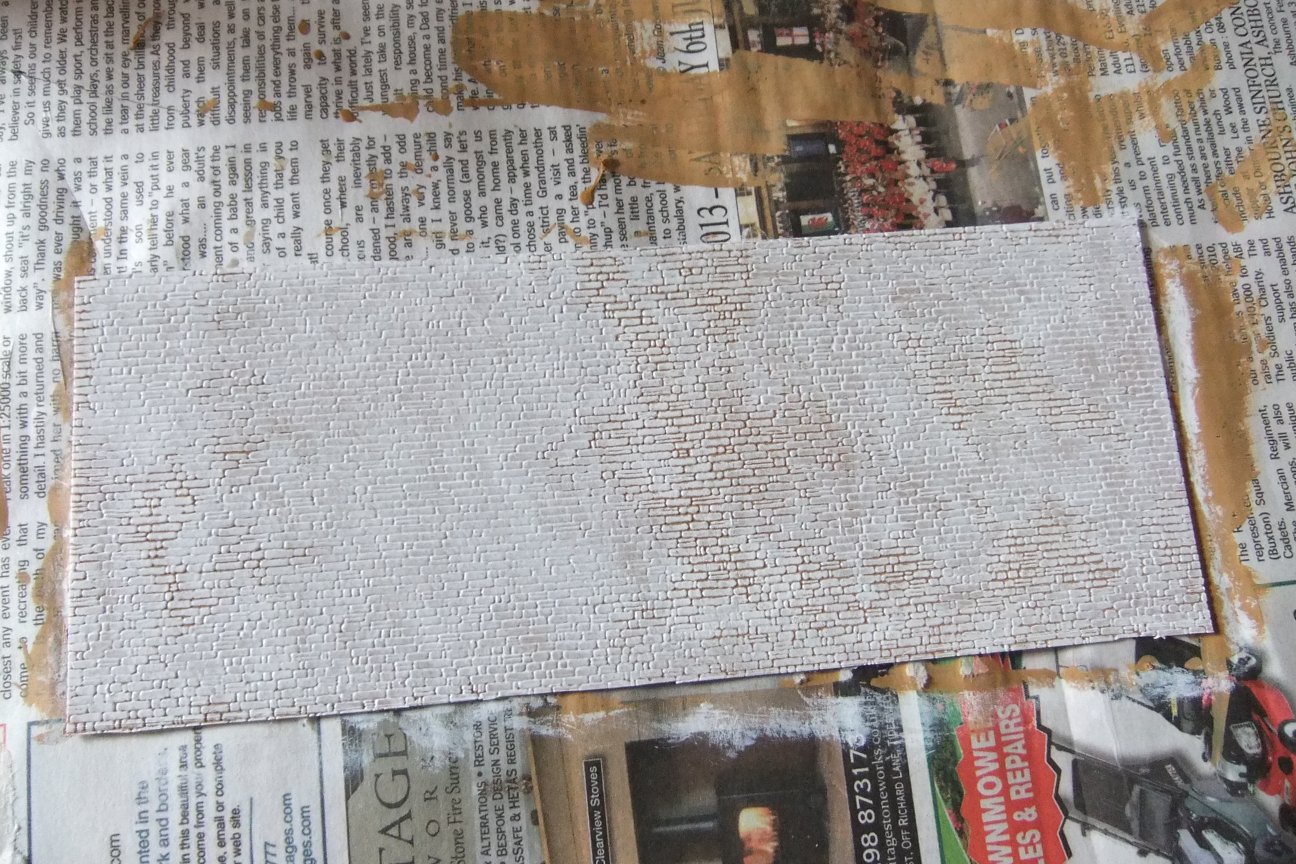
I then started to clad the shell of the building in embossed styrene to give the stone effect of the original. For this, I used Slater's 4mm Dressed Stone, which was the closest I felt to the original.
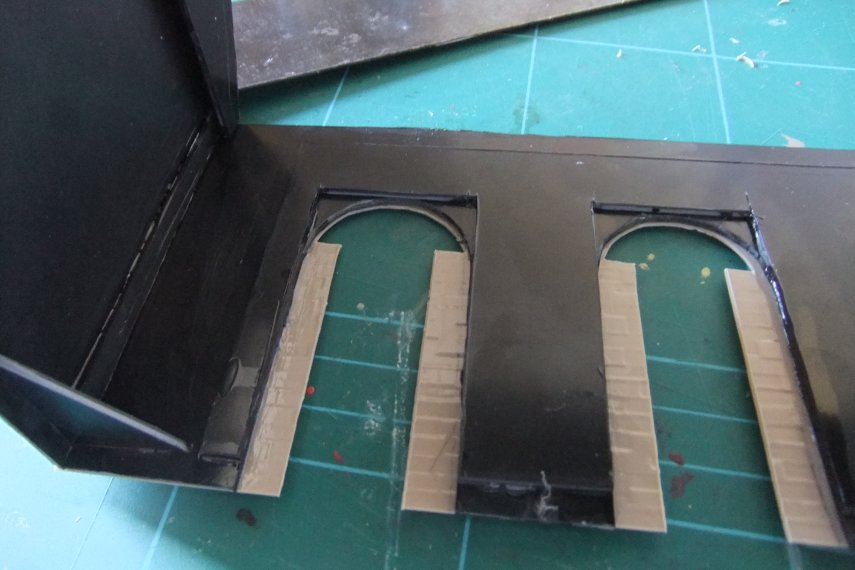
where the door apertures were, I folded the cladding round to give the effect of the thickness of the walls.
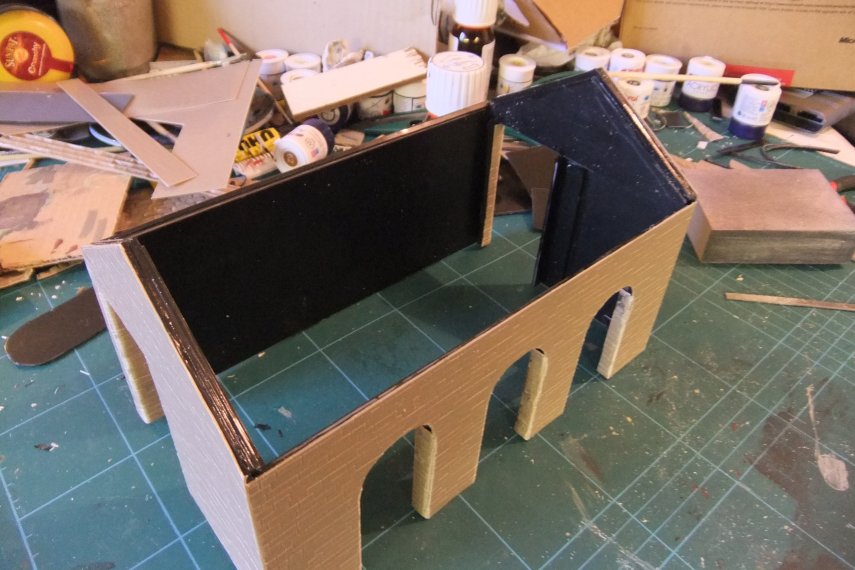
I then added the capping stones on the gable ends, the ornamental stone corbels at each corner, and the roof supports,
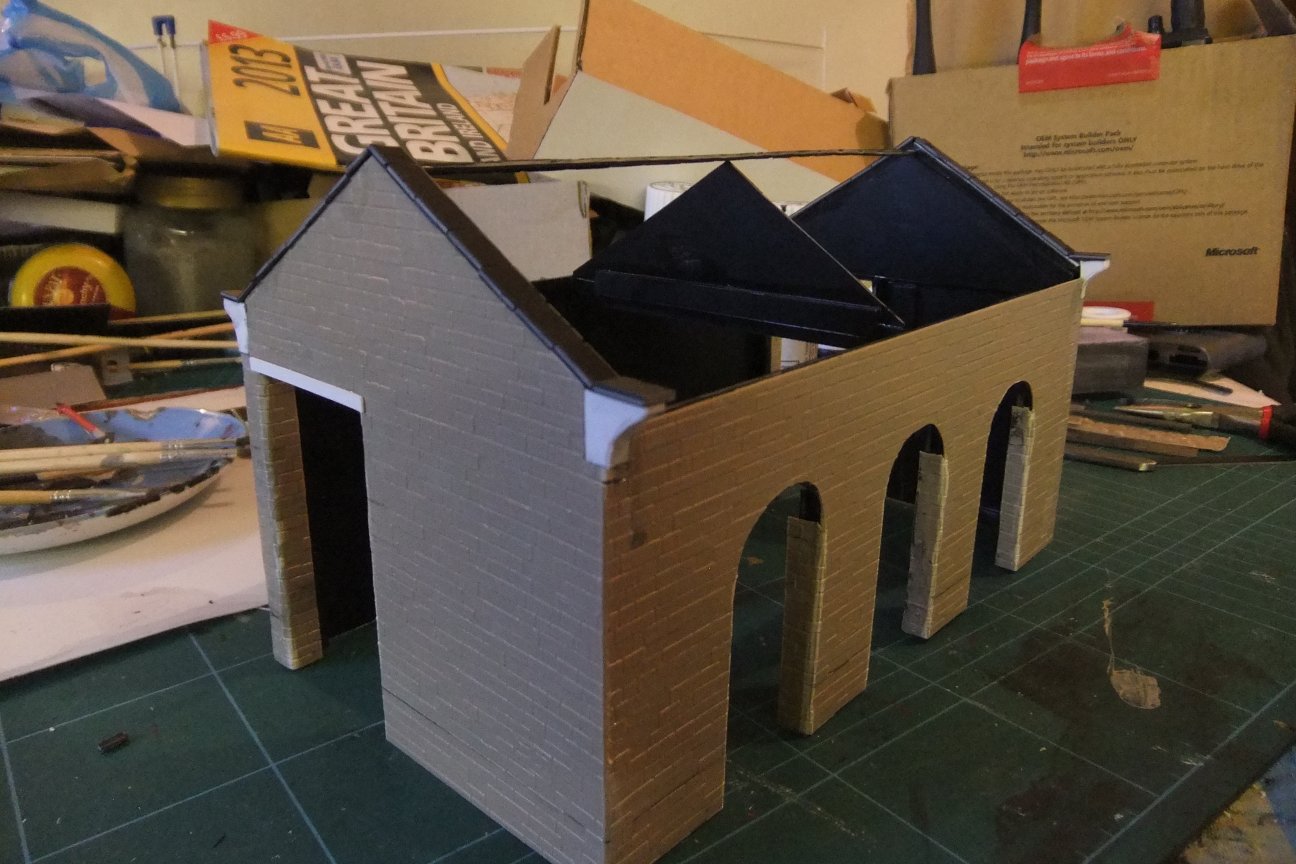
...and the detail of the stone arches over the loading doors
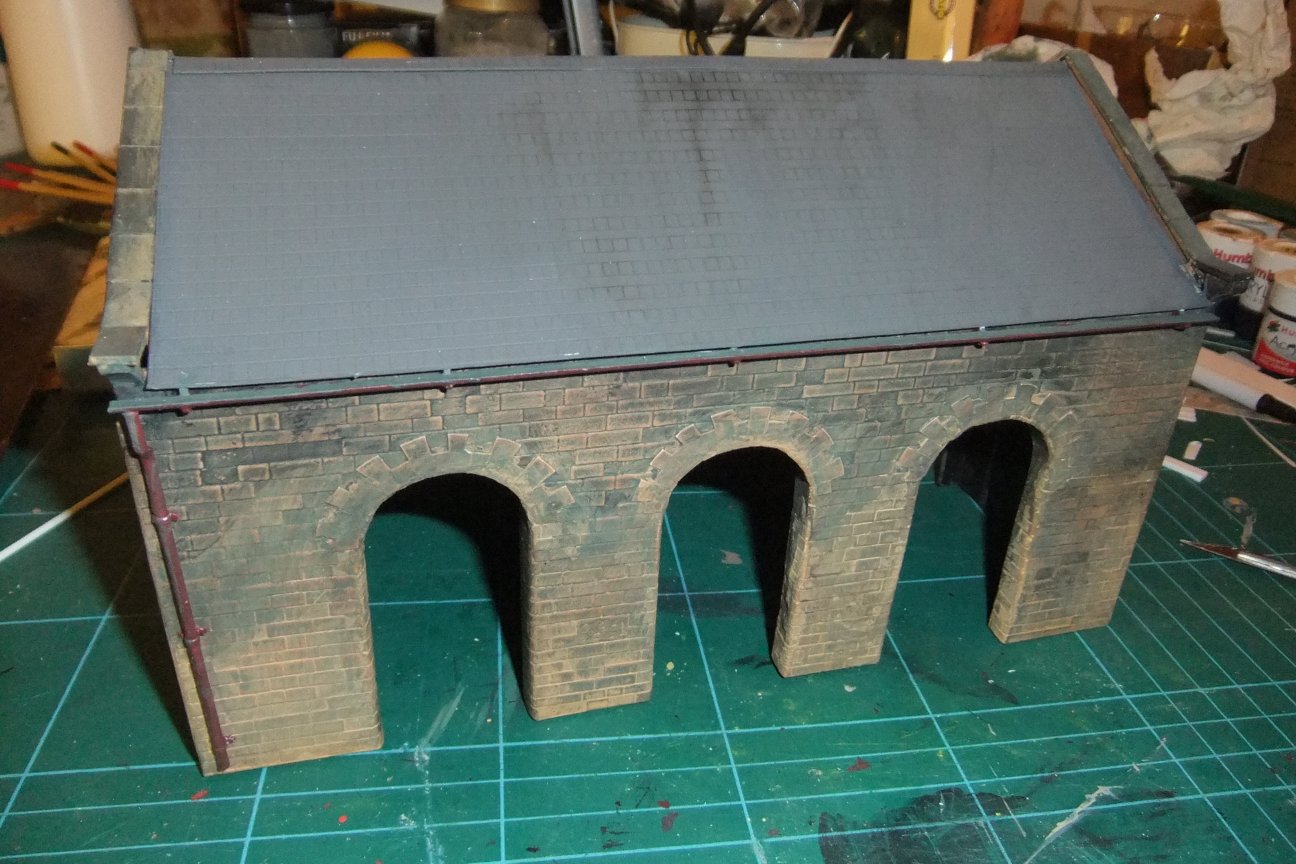
Painting
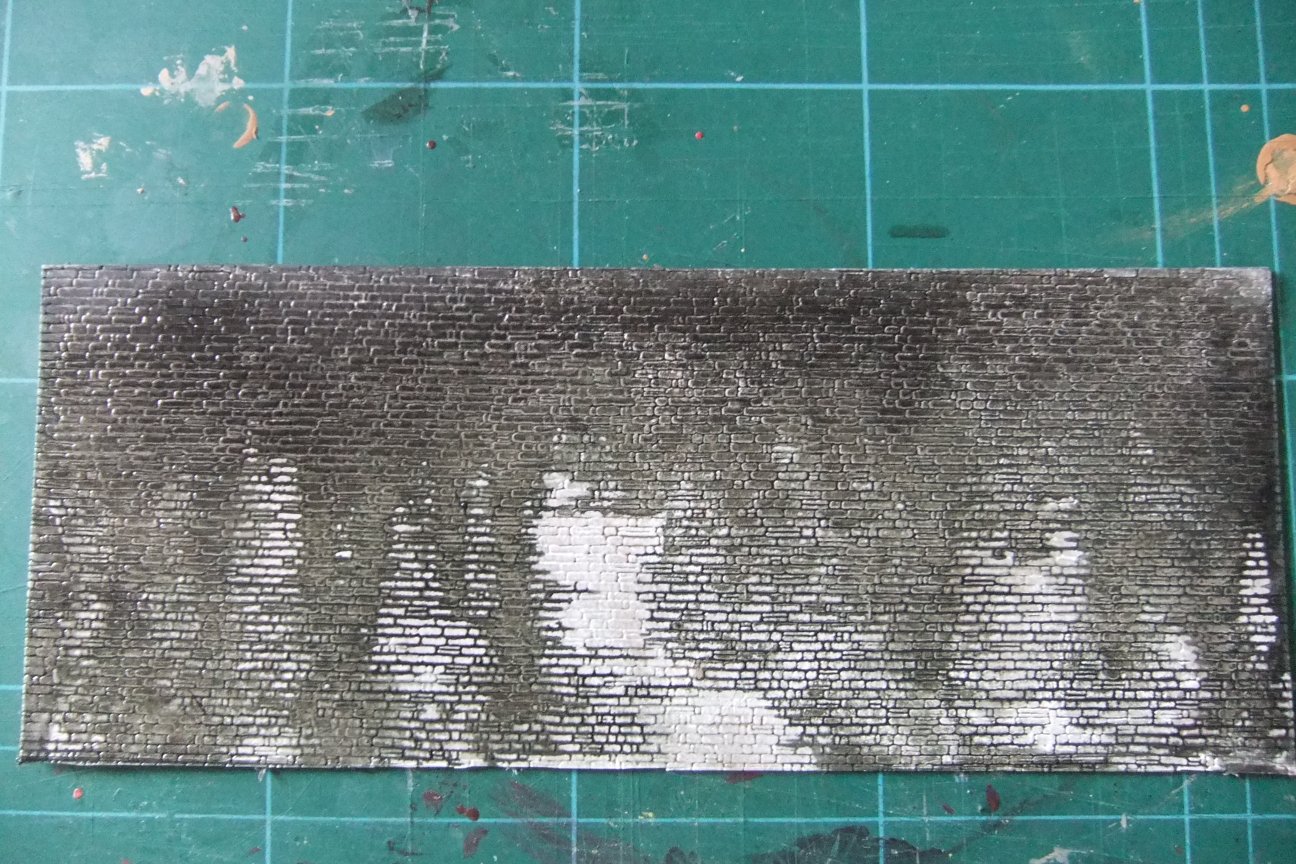
As a start, I gave the whole structure a coat of Humbrol Matt Acrylic No.62 Leather, which I thought would be close to the original colour of the stone, however once dry I wasn't convinced...
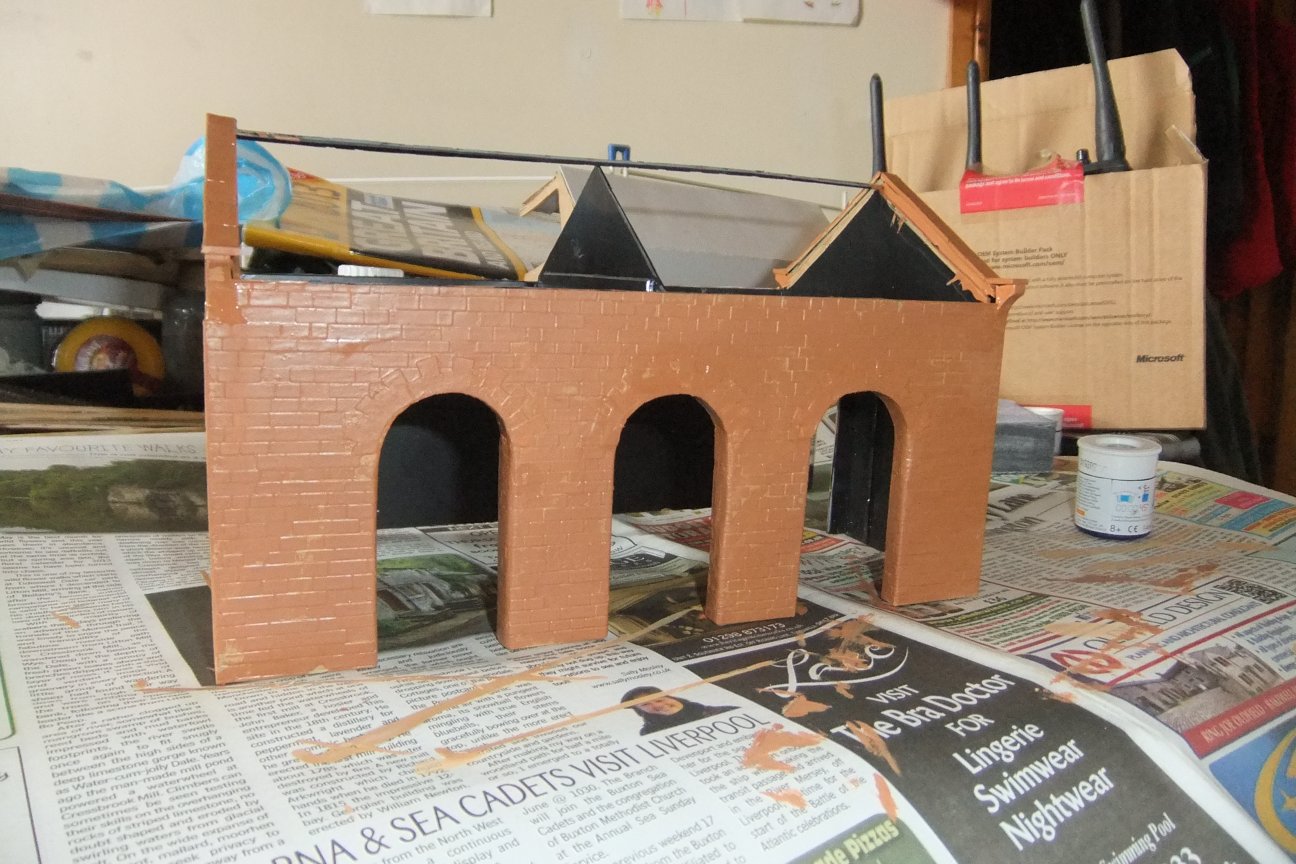
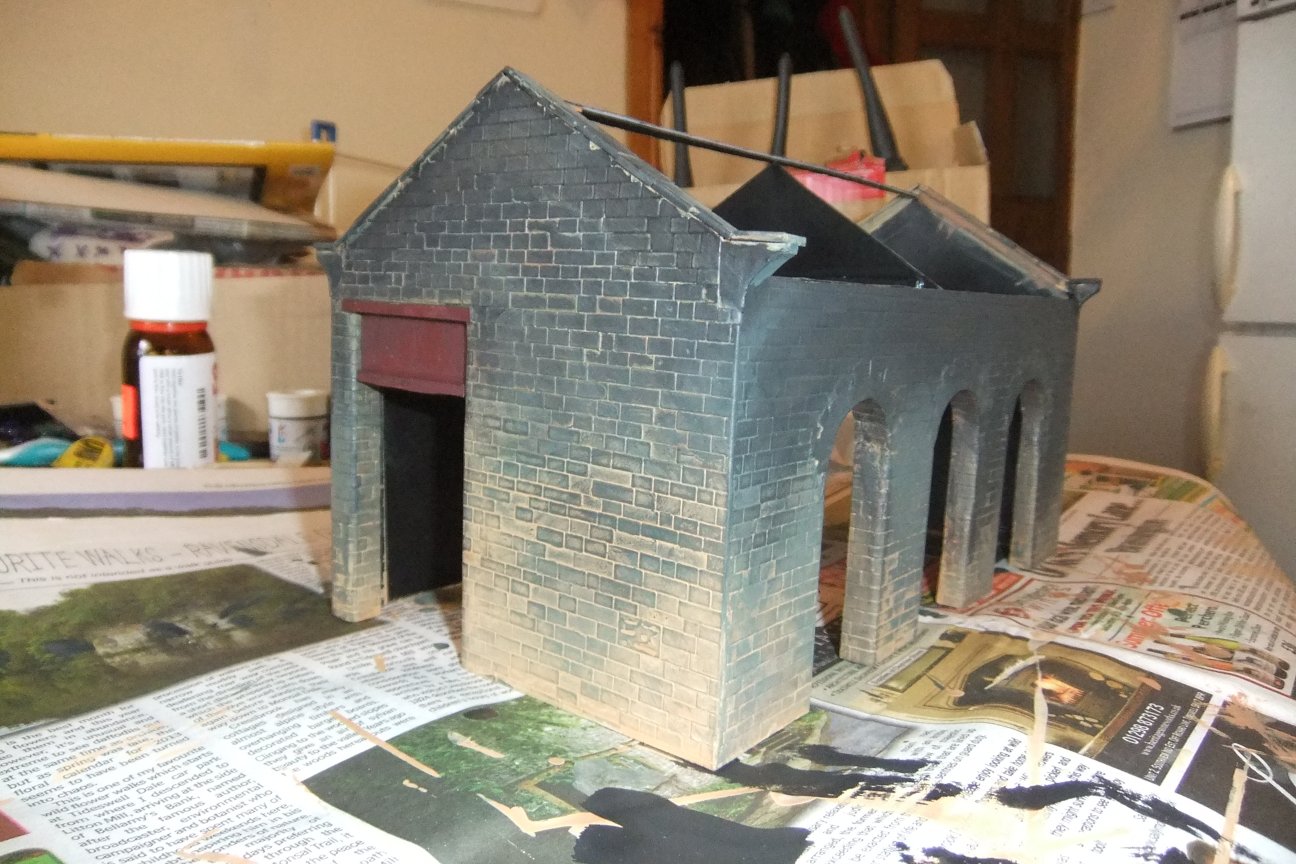
So I went over it with Humbrol Matt Acrylic No.63 Sand, and then started applying washes of various dark greens, Olve Drab, and Dirty Black, to weather it to a state similar to the prototype:
Details
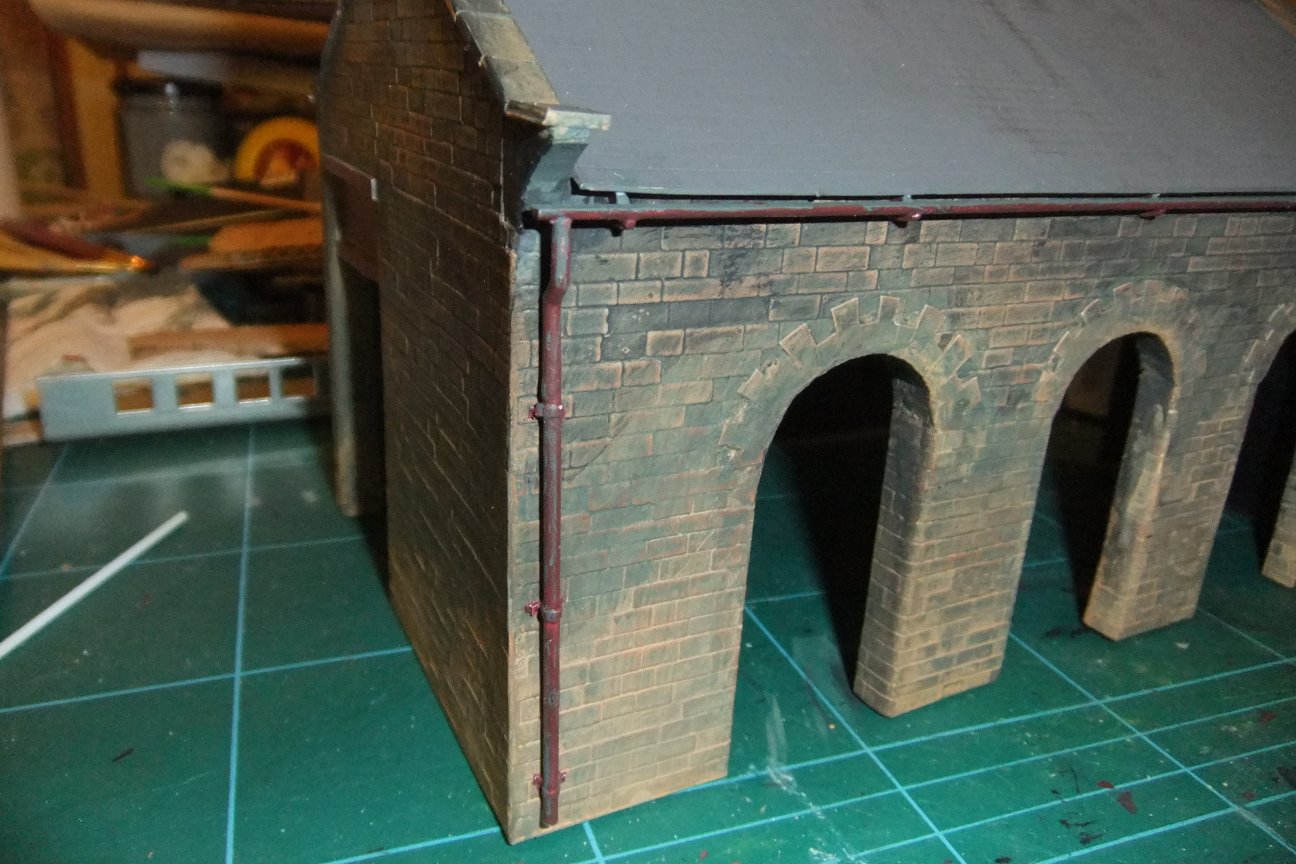
Next job, to add some external details... guttering, downpipes, doors etc.
For the guttering, I started with some half-round 60thou(2.1mm) styrene strip, and the downpipes were from 80thou(2mm) round rod.
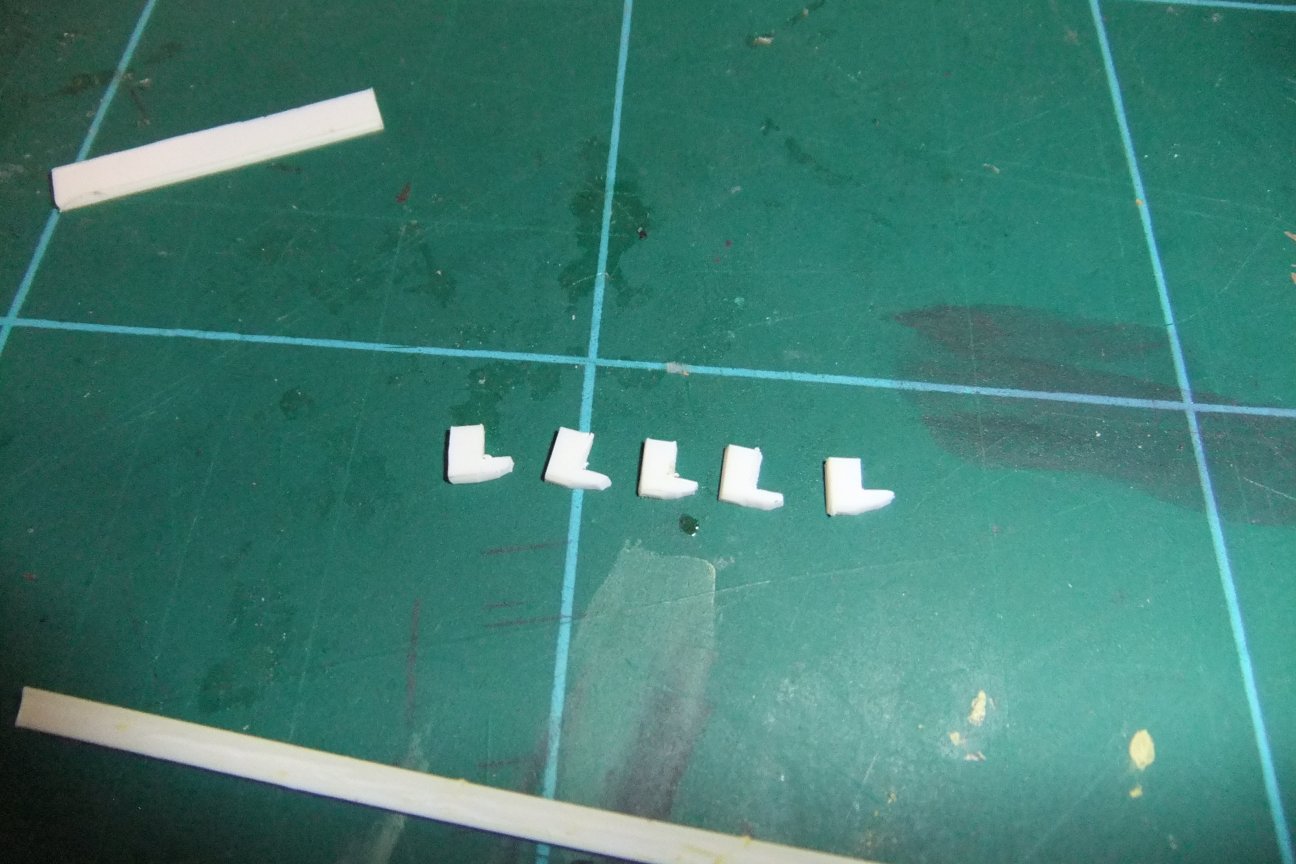
I cut out some small brackets for the guttering from 80thou styrene sheet.
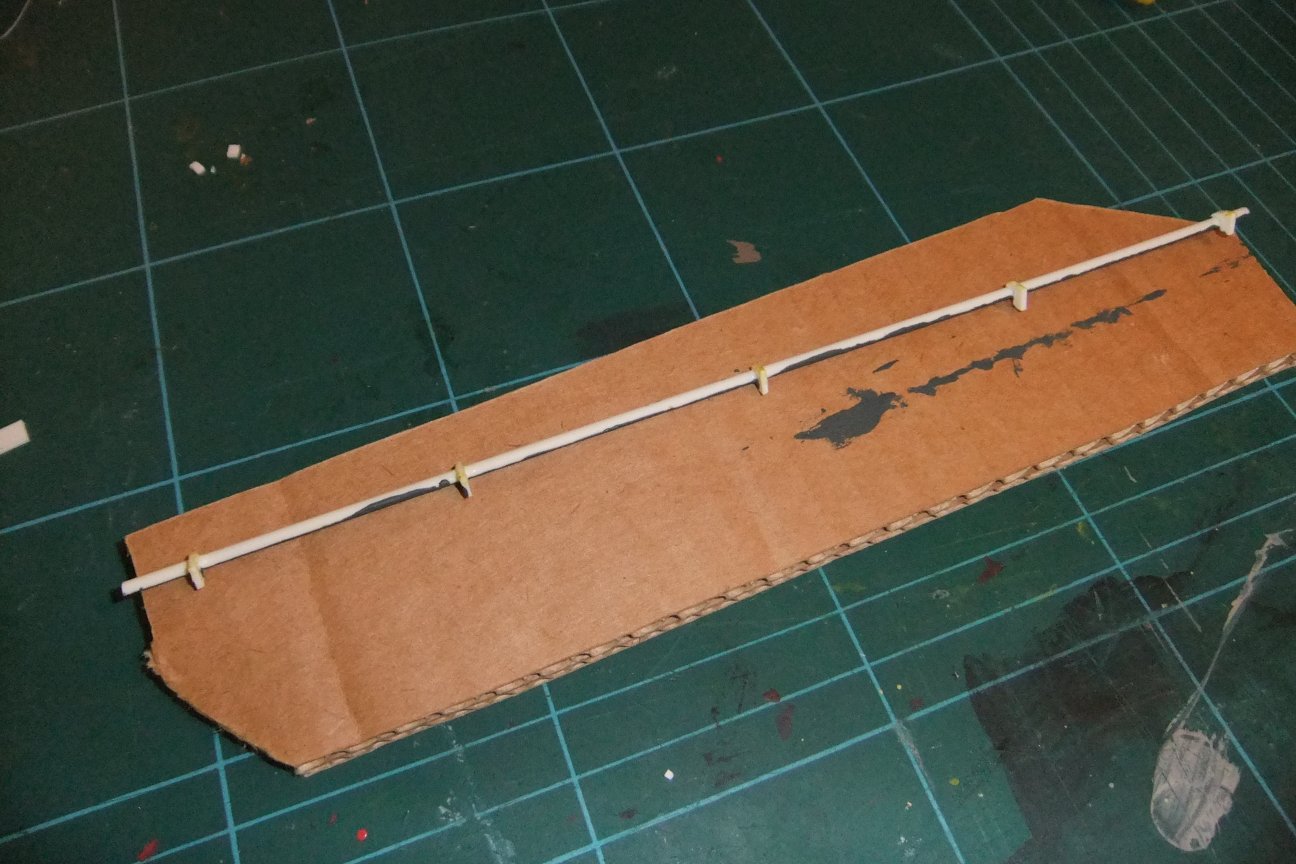
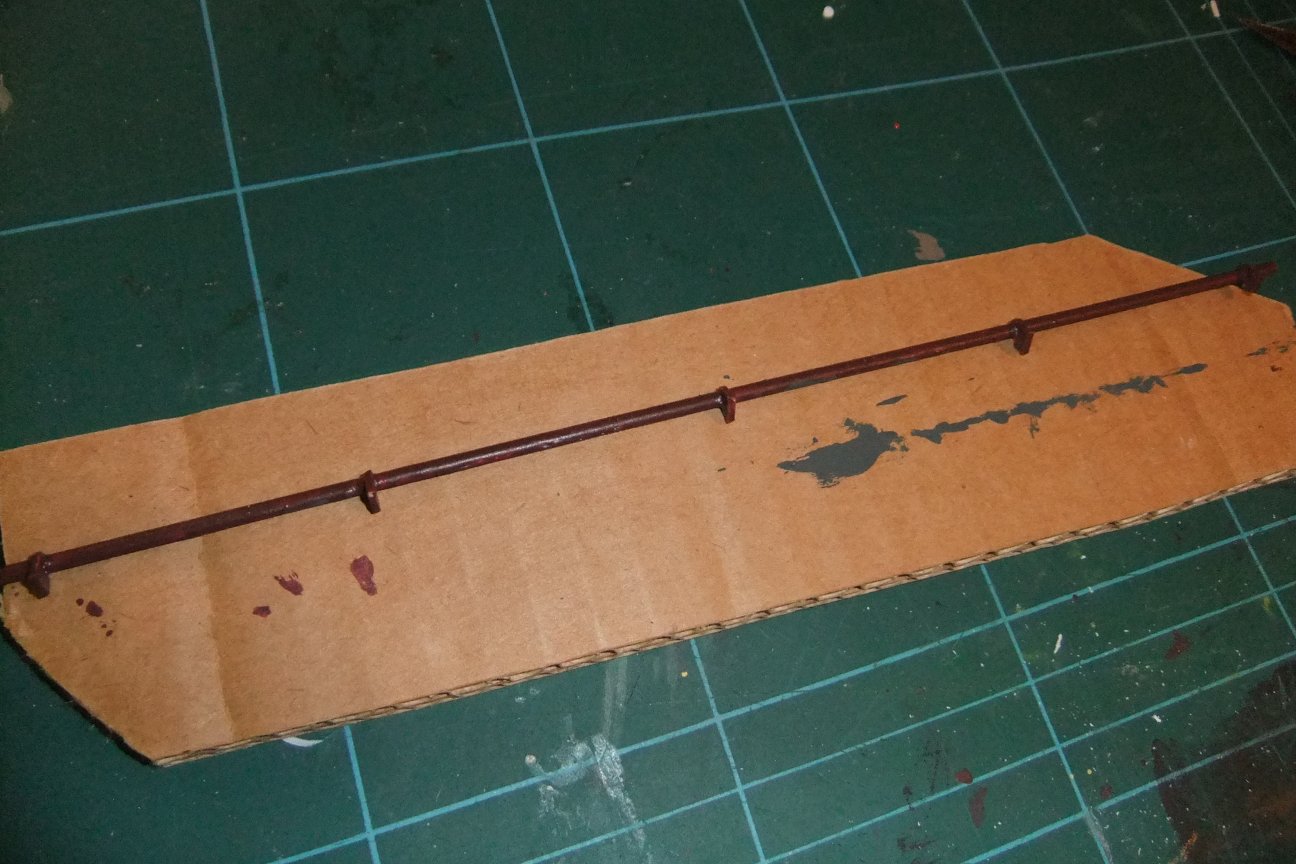
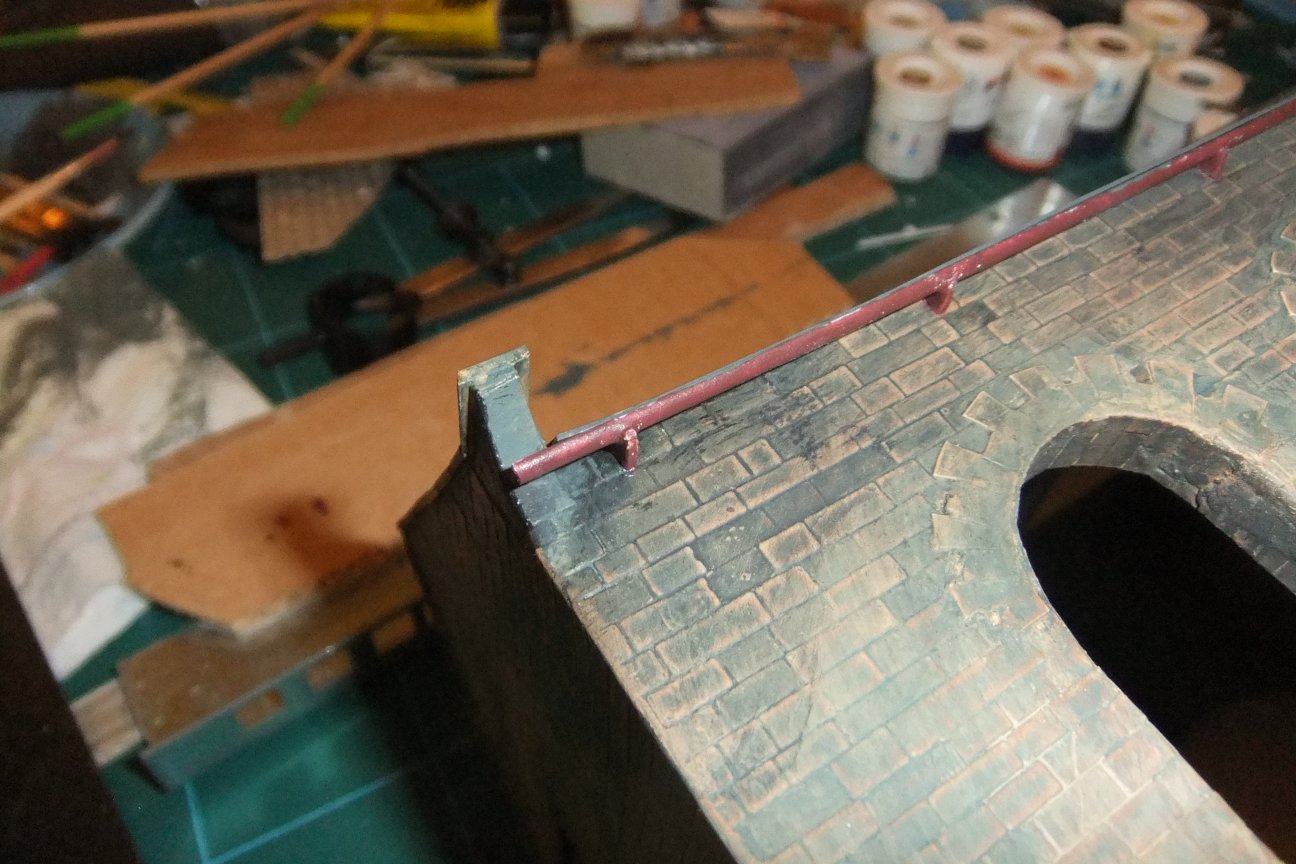
The guttering painted and fixed in position
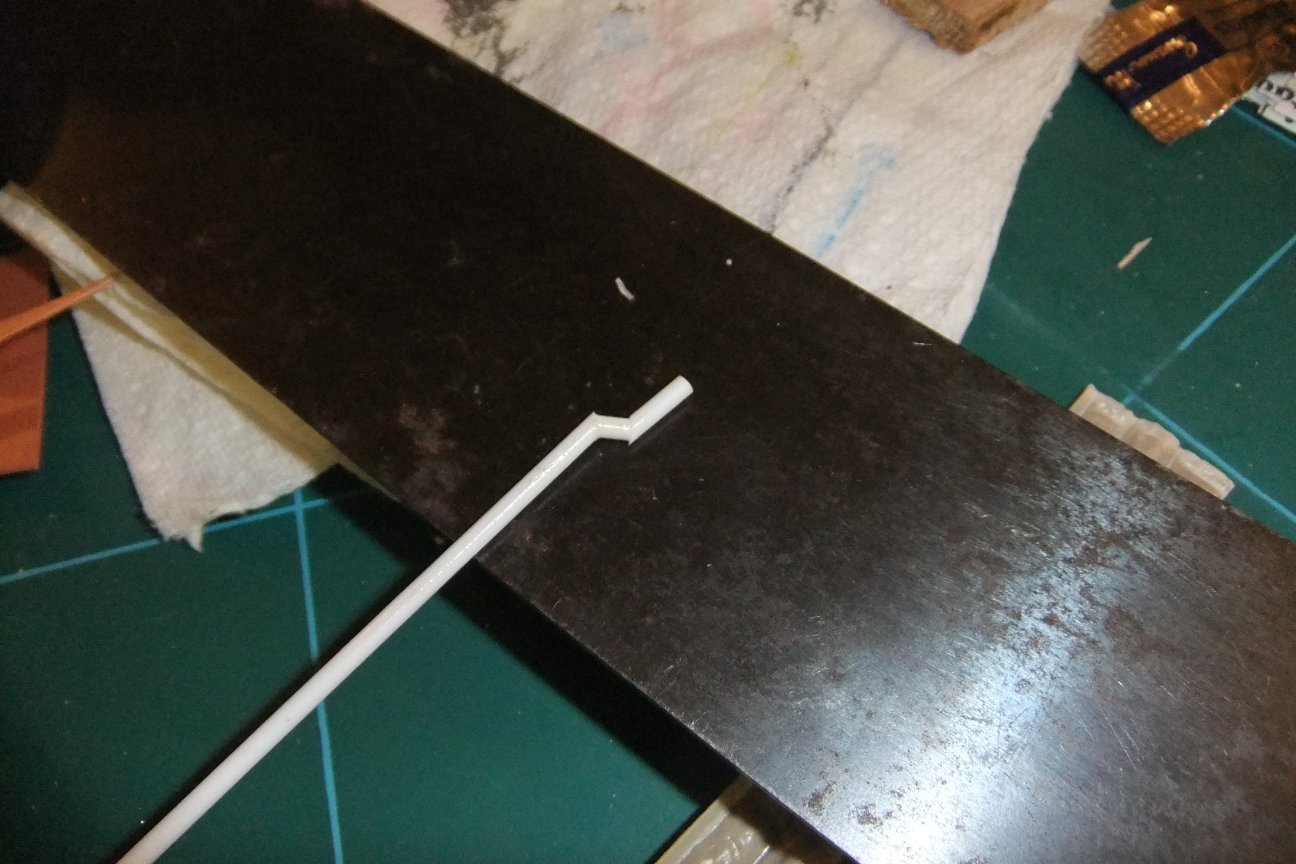
To create the curve in the downpipe, I cut through a section of 2mm round rod at a 45degree angle, and then used a very short offcut of the same material to join the cut surfaces together. Once dried, and the edges filed off, it looks like this:
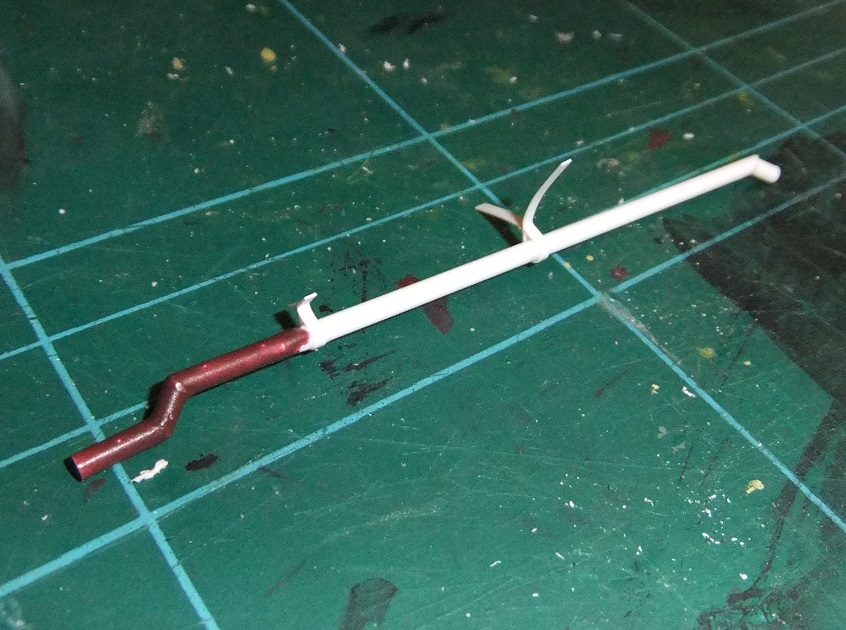
The downpipe brackets are made using a thin strip of 0.5thou styrene microstrip, wrapped around the pipe and then cut to size.
Here's a few pictures of the result:
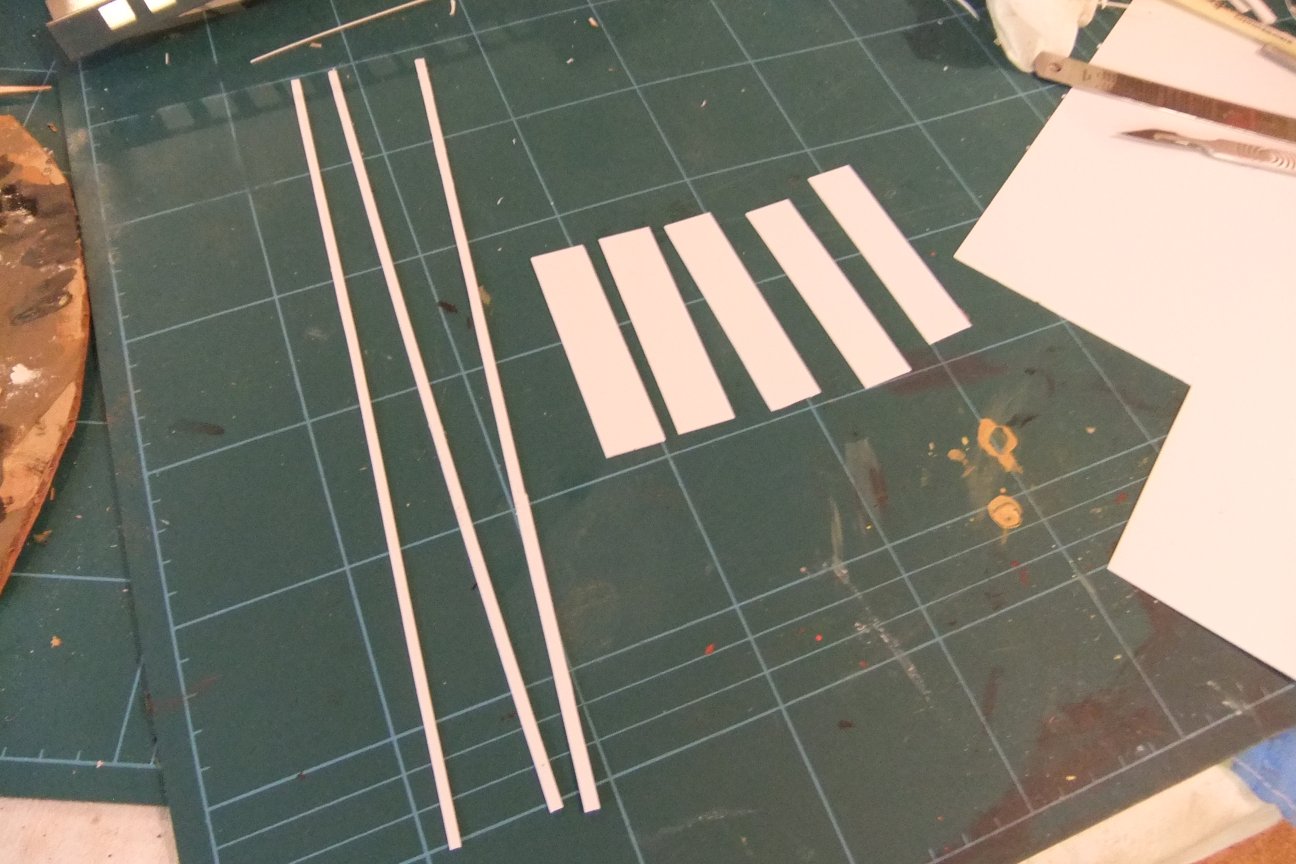
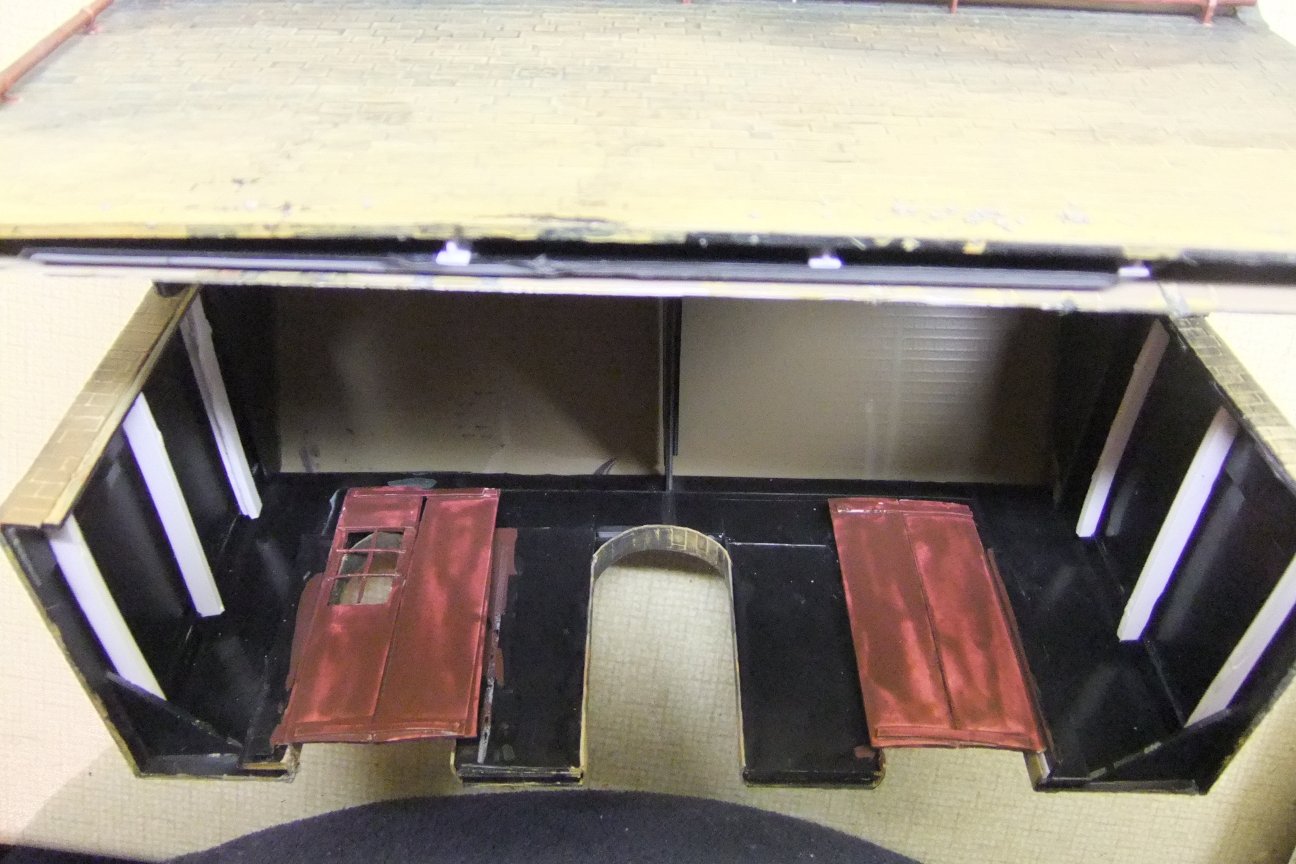
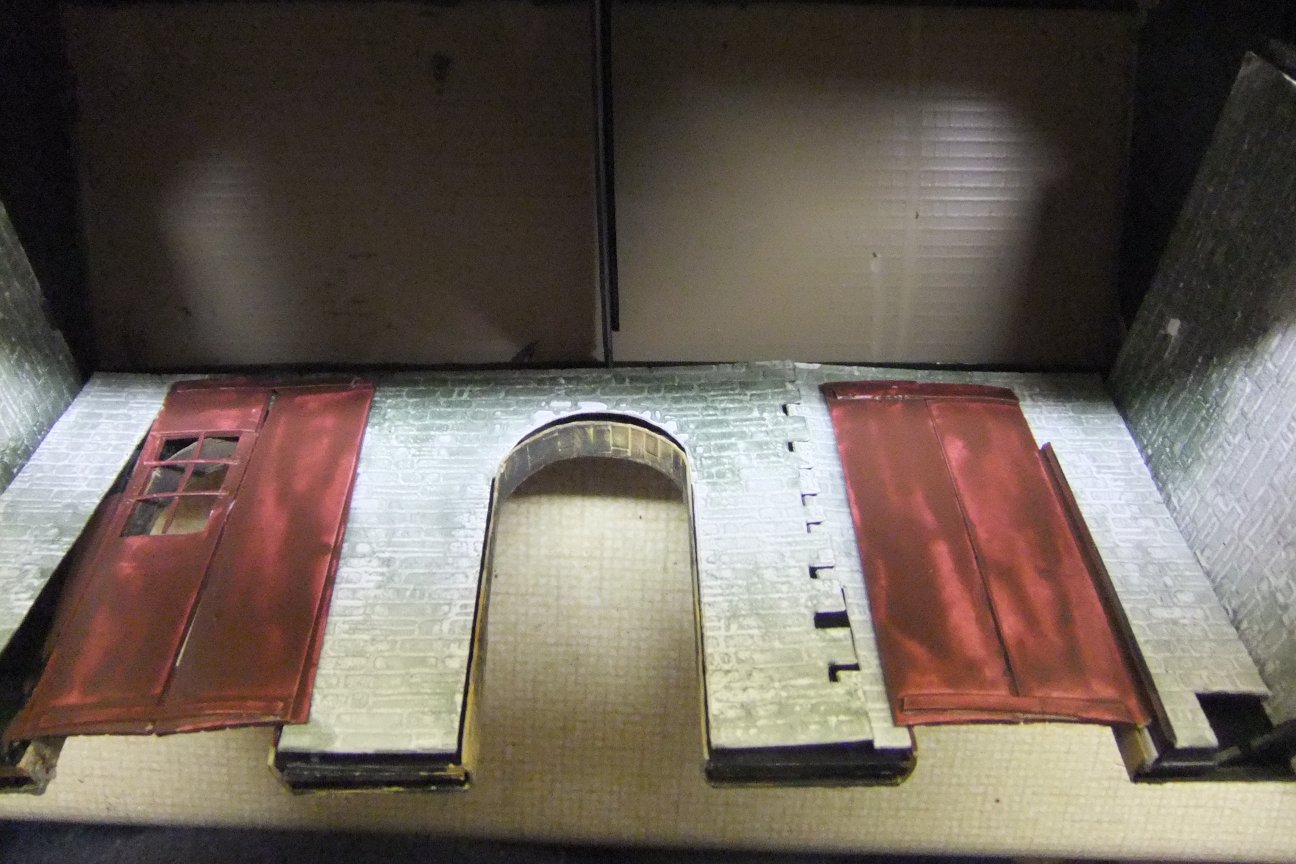
I added the doors to the loading bays. Looking at photos, only the central door was normally used so I decided to build the doors on the two end bays.
The doors were made from individual strips cut from a sheet of 20thou (1mm) styrene sheet, stuck onto a backing piece, one door having a window made of microstrip.
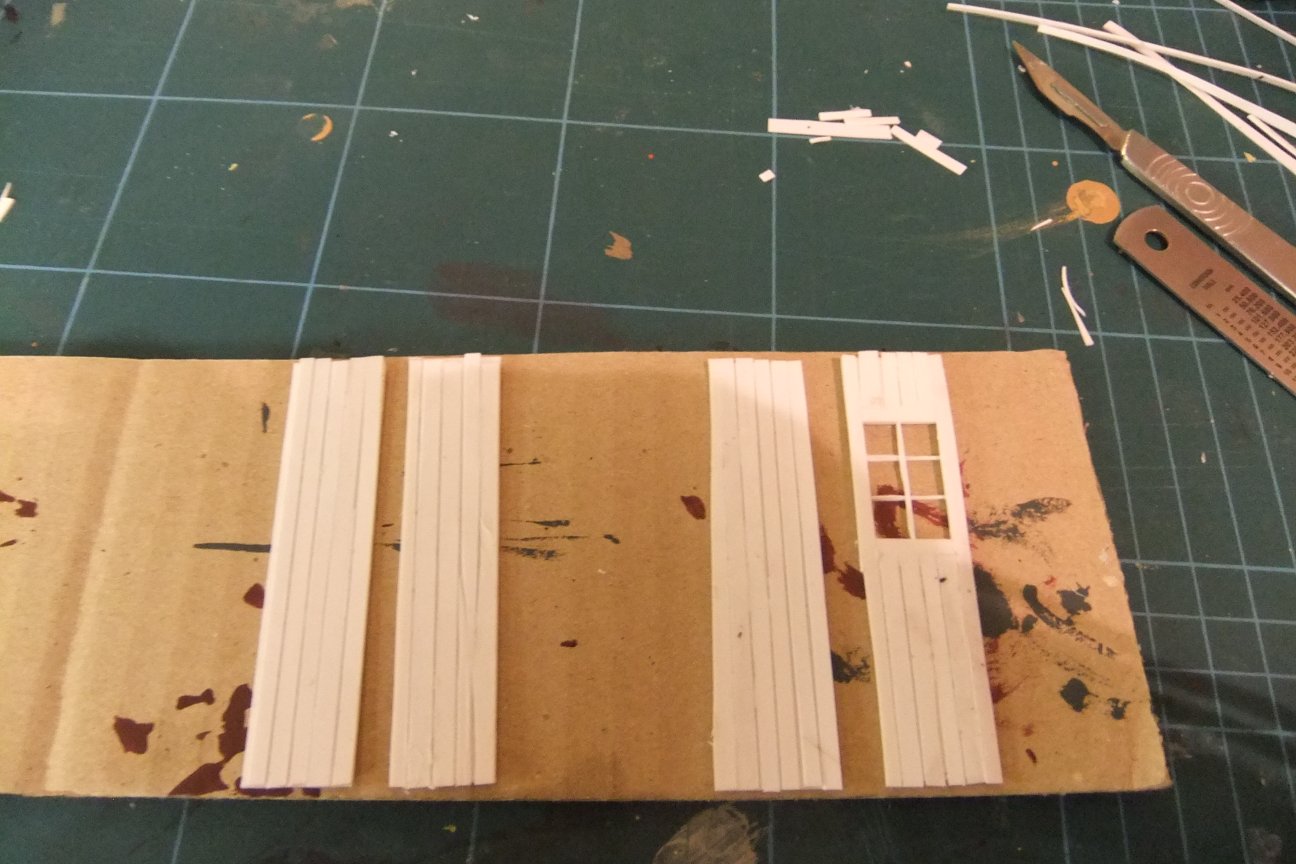
these were then painted and attached
Interior Detail
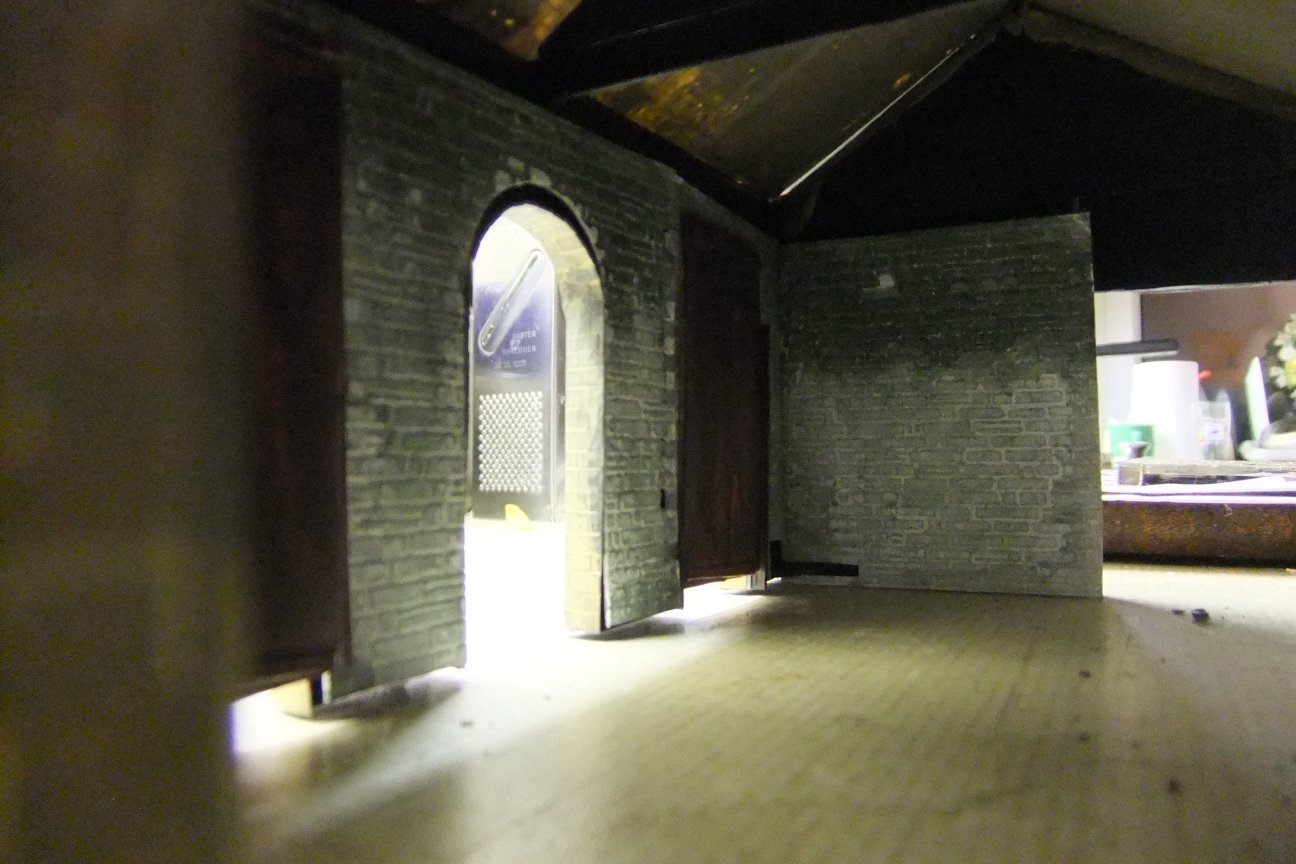
Turning my attention to the inside, at this point the shed is bare plastic, so first, I tackled the rear wall.
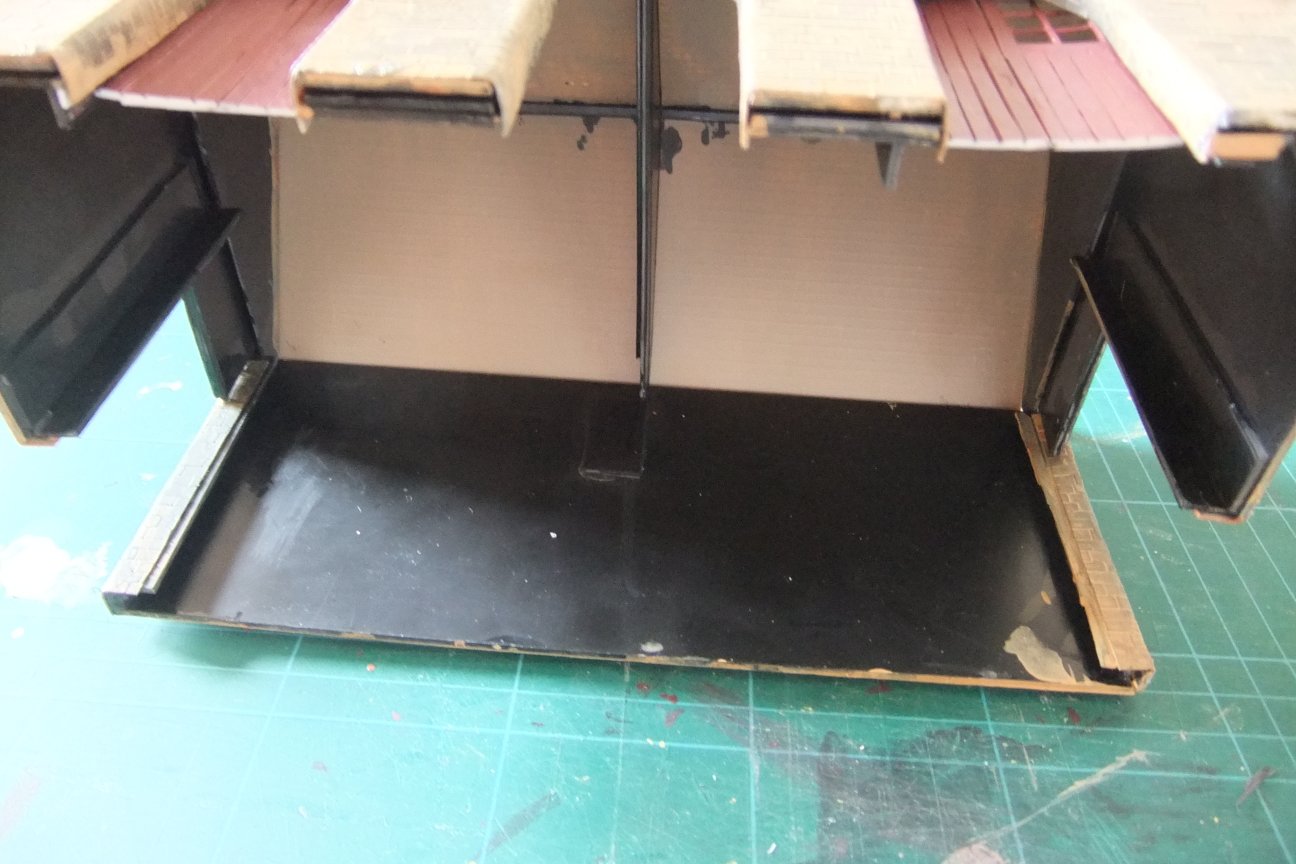
As you can see, it's just an expanse of bare plastic. So firstly I needed to give the wall some thickness, so I used some offcuts of styrene sheet, plus some rod, to create a surface I could stick the interior wall to.

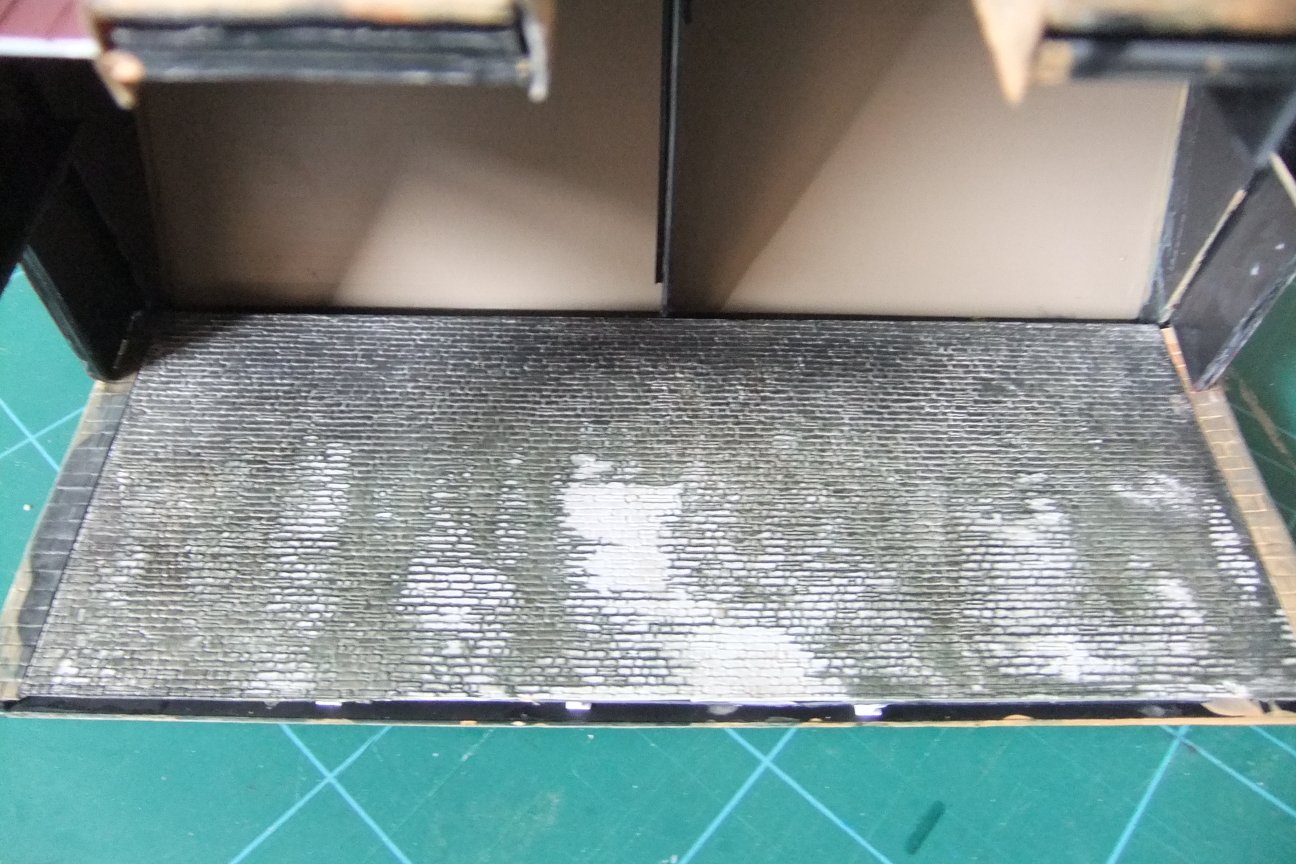
The interior surface uses a sheet of Slater's 4mm rough stone embossed styrene, cut to shape
I gave the sheet a base coat of Humbrol Matt Acrylic No.63 Sand, and once that was dry, I went over it with No.34 Matt White, to represent a whitewash finish. Then I weathered it with a dilute wash of Humbrol Acrylic Matt No.91 Black Green to represent years of smoke and dirt.

Once dry, this was then installed in the shed:
I did the same for the other side, around the doors, using the same painting techniques of a base coat, whitewash and then weathering - although in this case the weathering was to a lesser extent. The walling was cut to fit around the existing door openings:
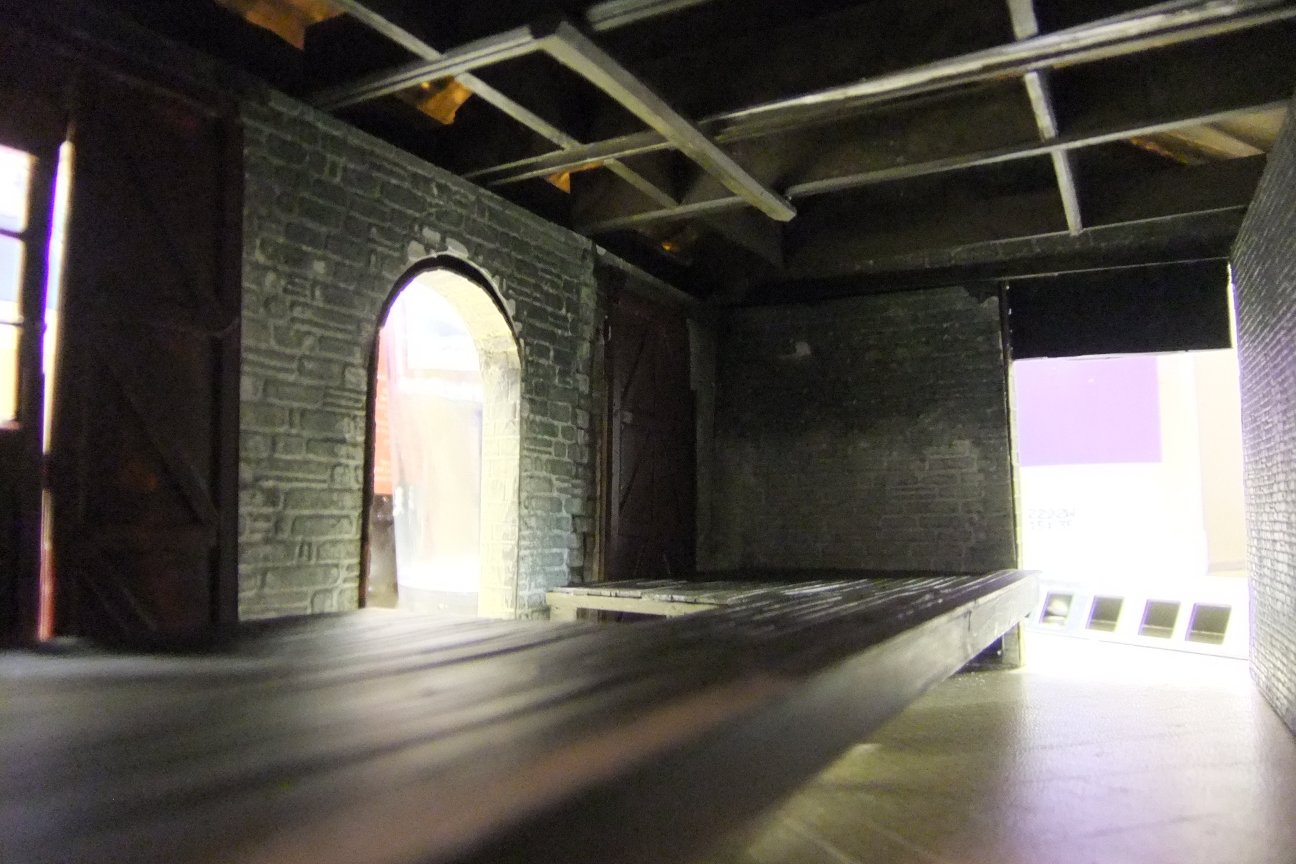
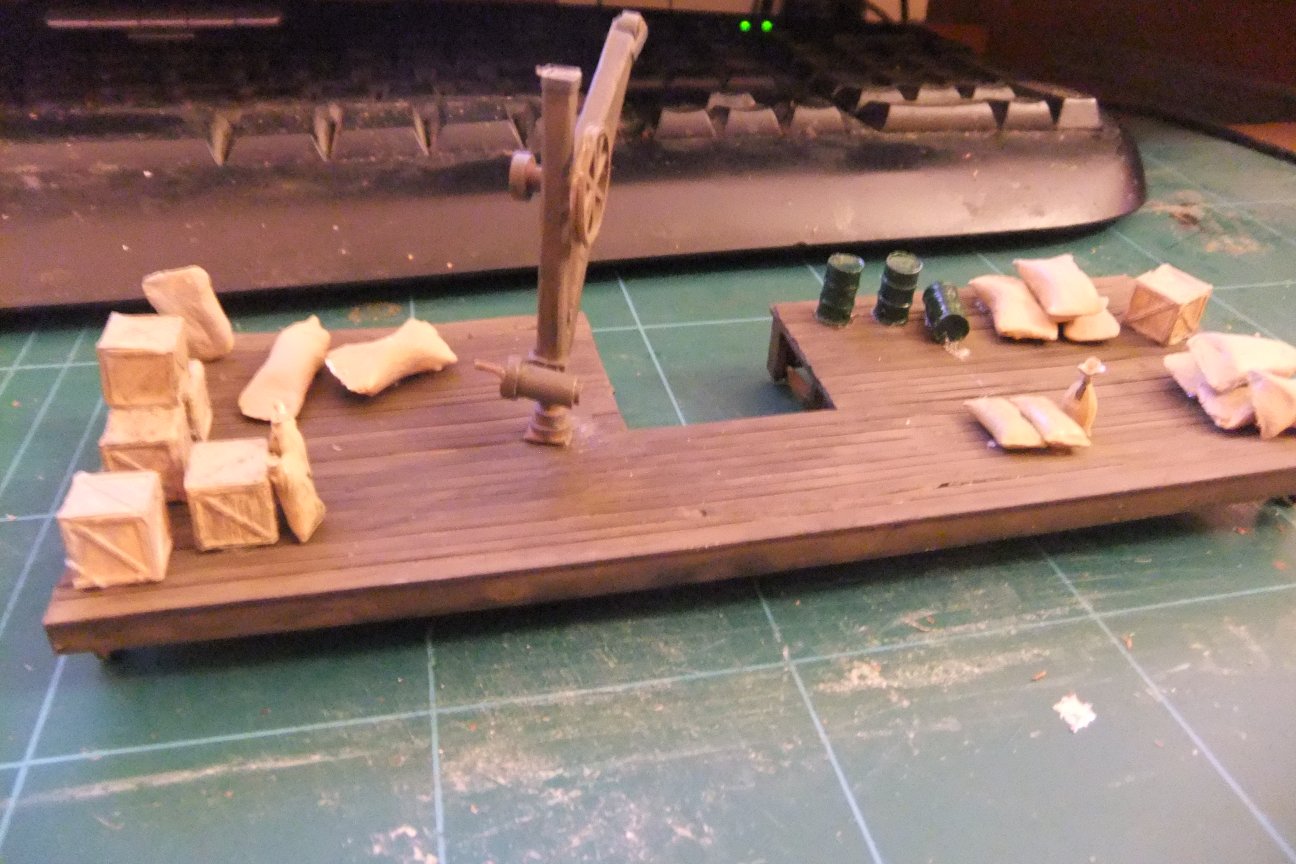
The next thing to do was to add the internal staging and platform for the goods. This was built out of strips of 20thou (1mm) styrene sheet, laid on a frame made of 80thou (4mm) square styrene rod. I deliberately cut the strips freehand, so that they would present an uneven appearance (much exaggerated).
I painted the platform with a base coat of Humbrol Matt Acrylic No.29 Dark Earth, which gives a good representation of aged wood, and then used washes of Humbrol Matt Acrylic No.91 Black Green and Humbrol Matt Acrylic No.66 Olive Drab to weather it.
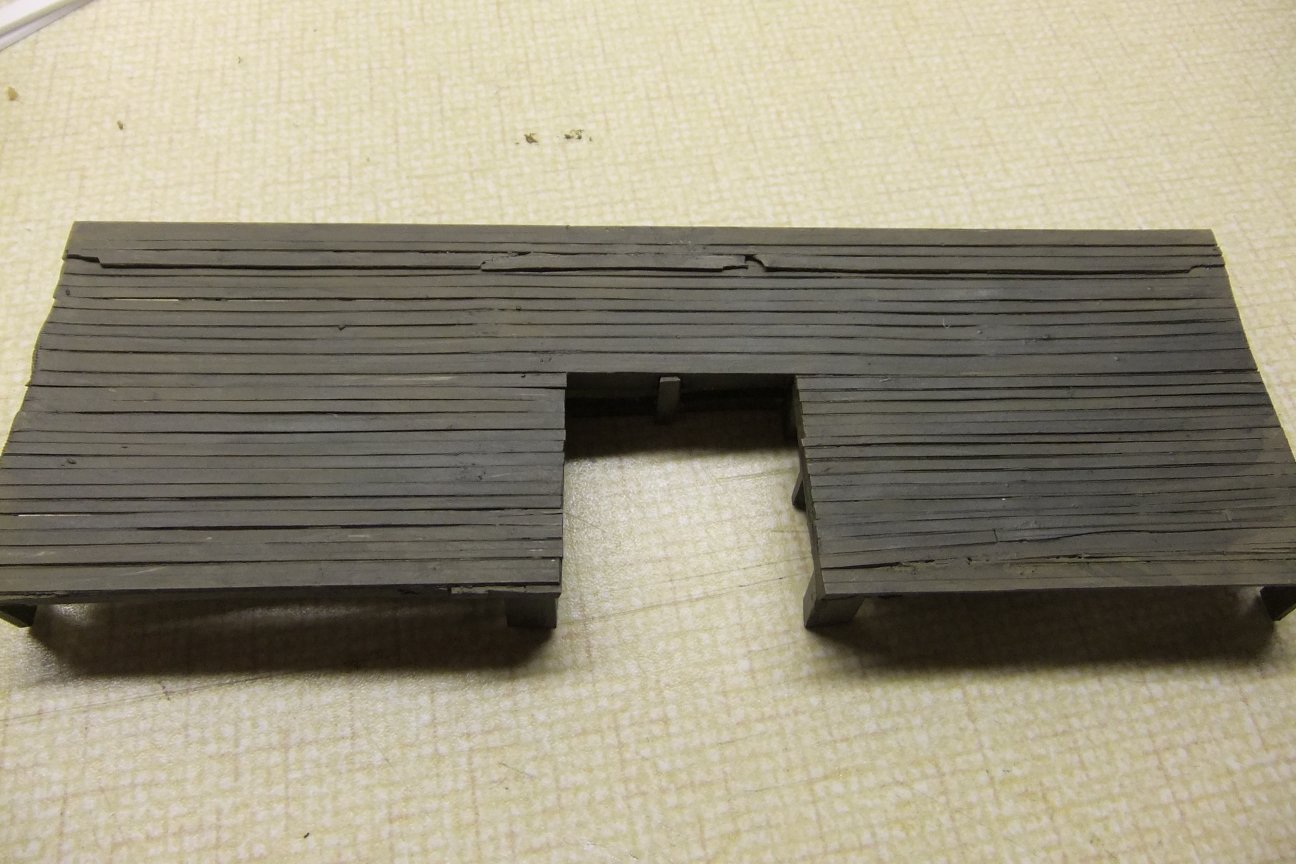
I used strips of 80thou (4mm) styrene to create roof beams, and painted them in a similar fashion
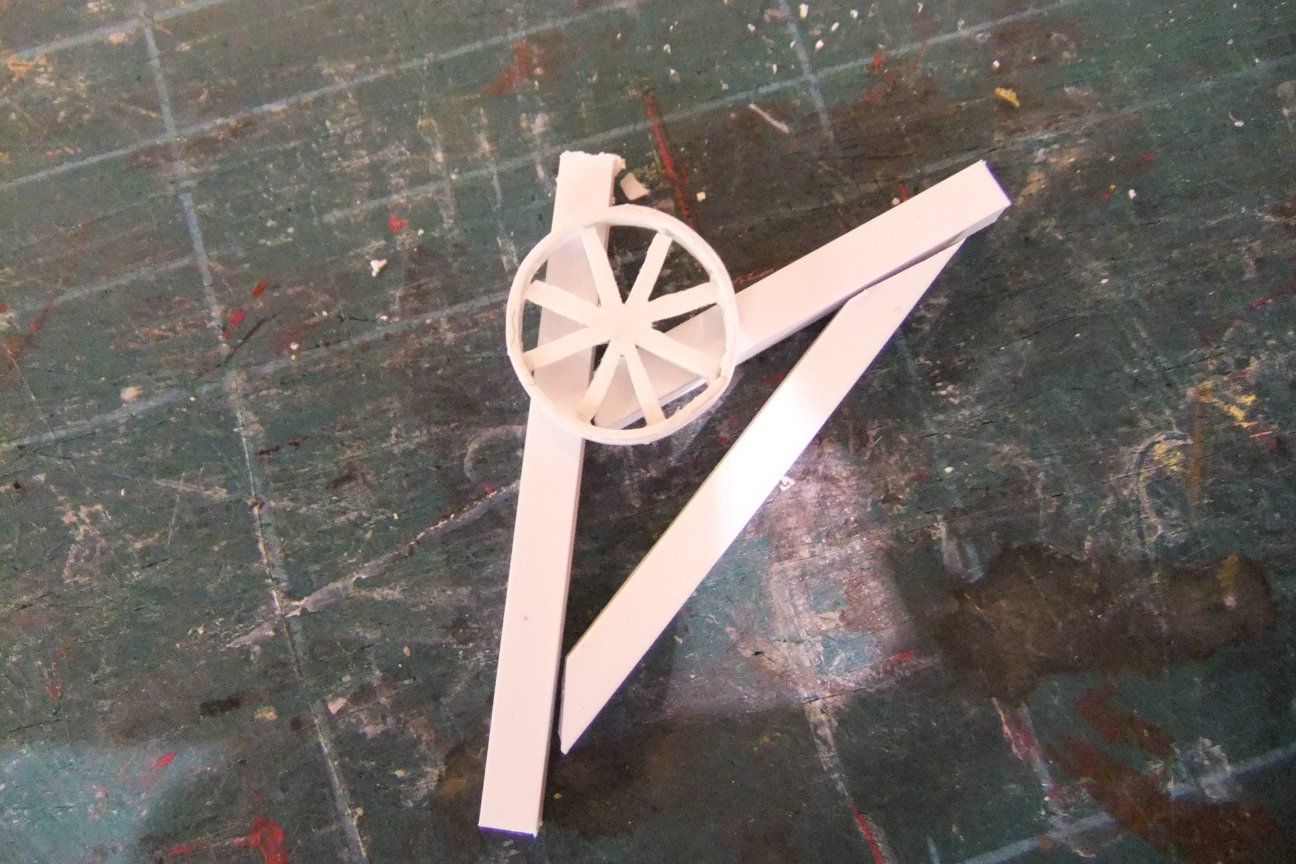
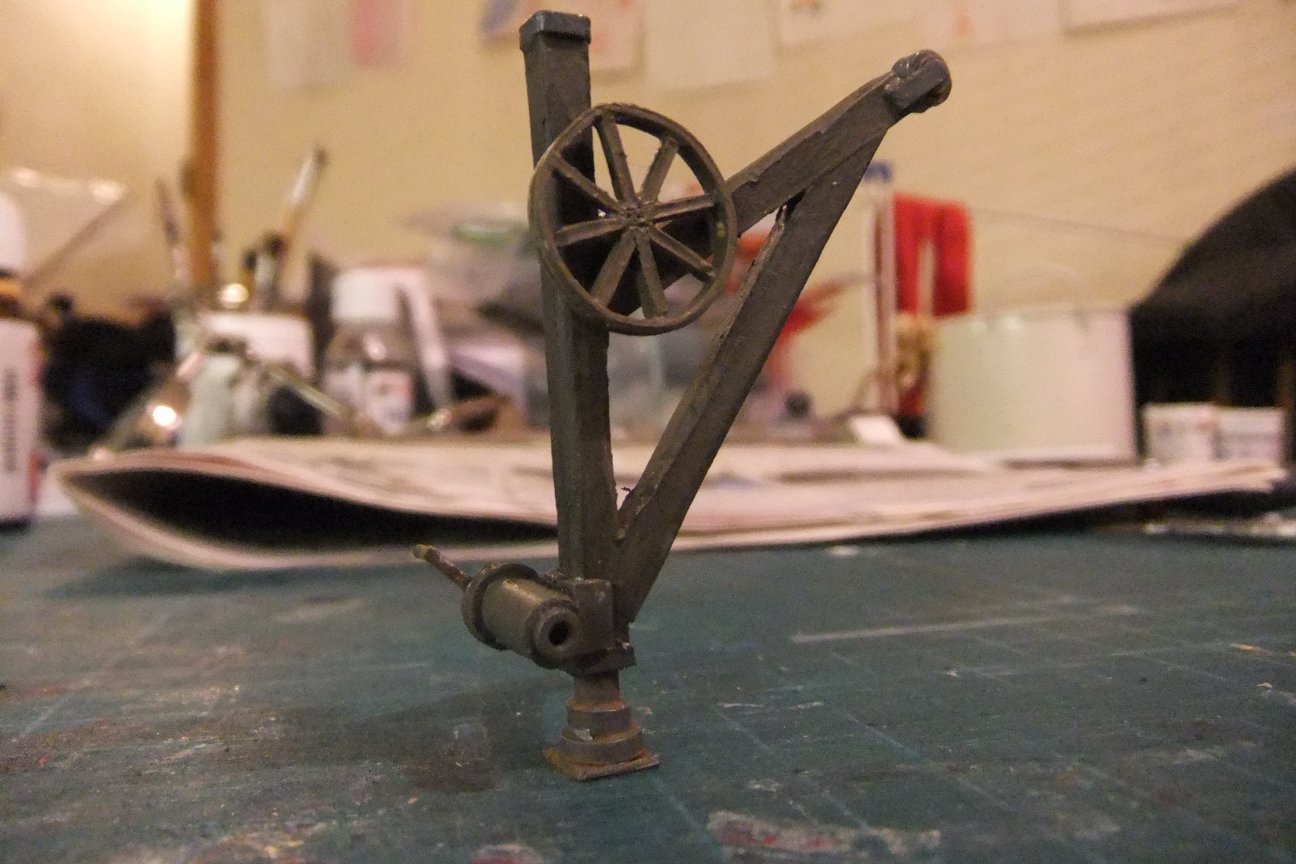
I then built a crane for the inside of the goods shed, using more of the 80thou (4mm) square rod, and a scratchbuilt pulley wheel made out of microstrip.
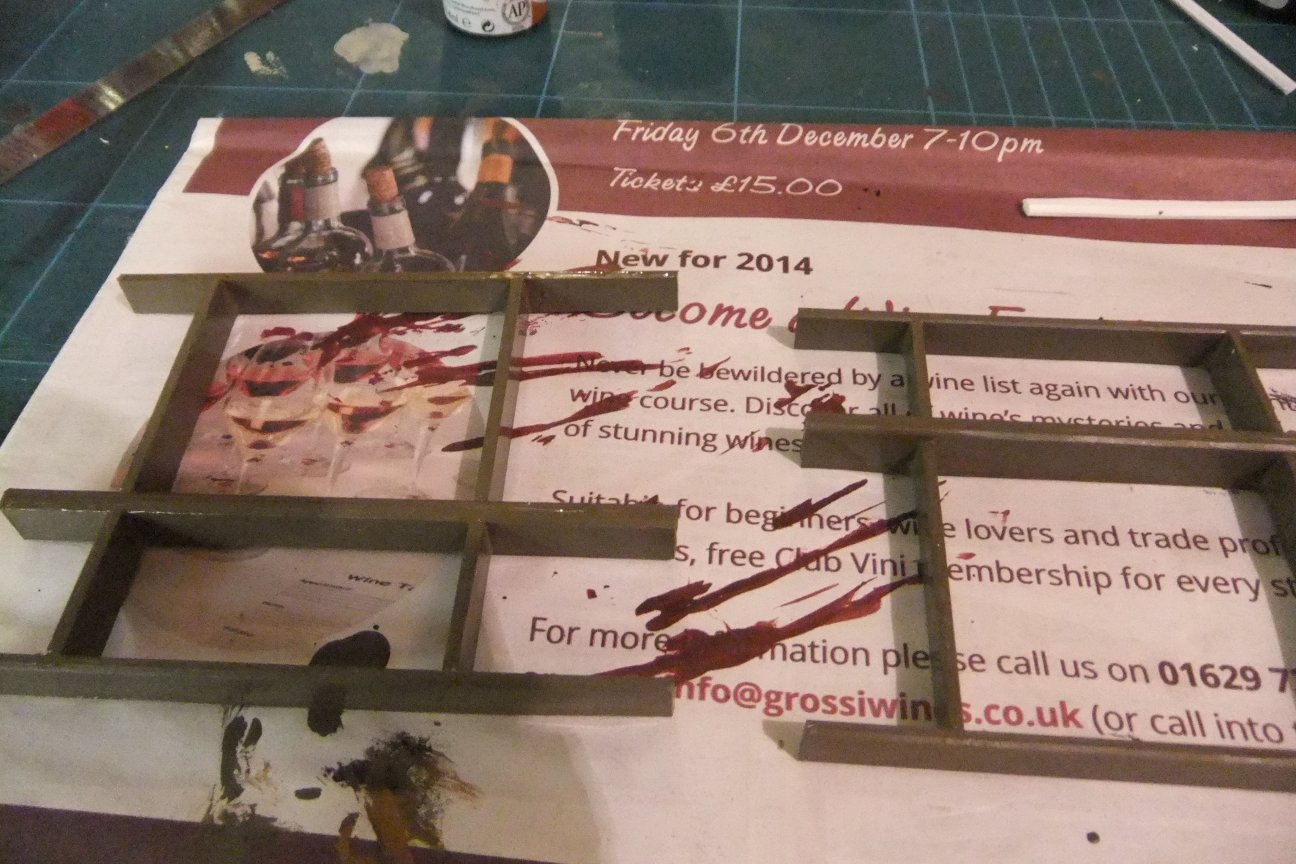
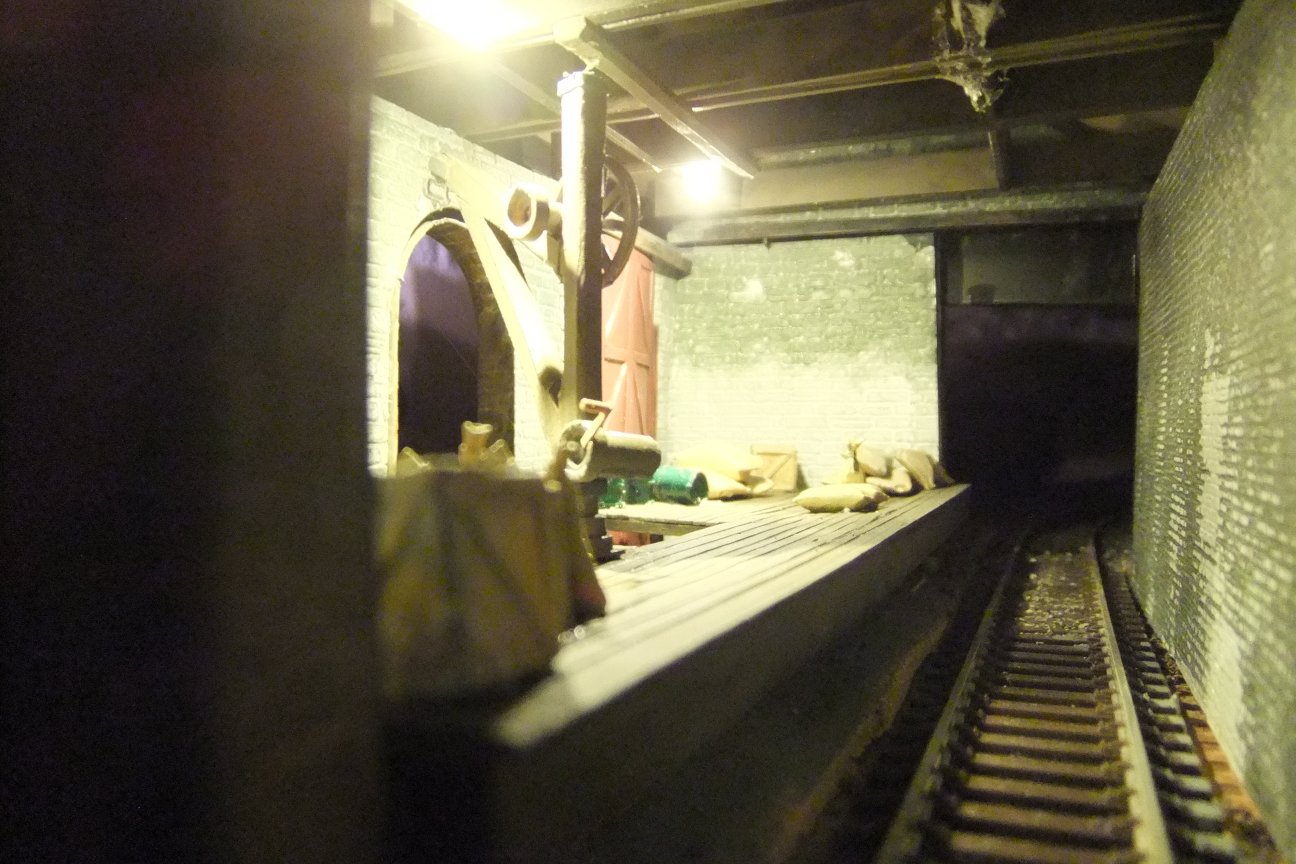
The crane, and some packing cases, sacks, and oil drums were all added to the platform:
Finally, I added some LED lighting. Here's some views of the completed interior:

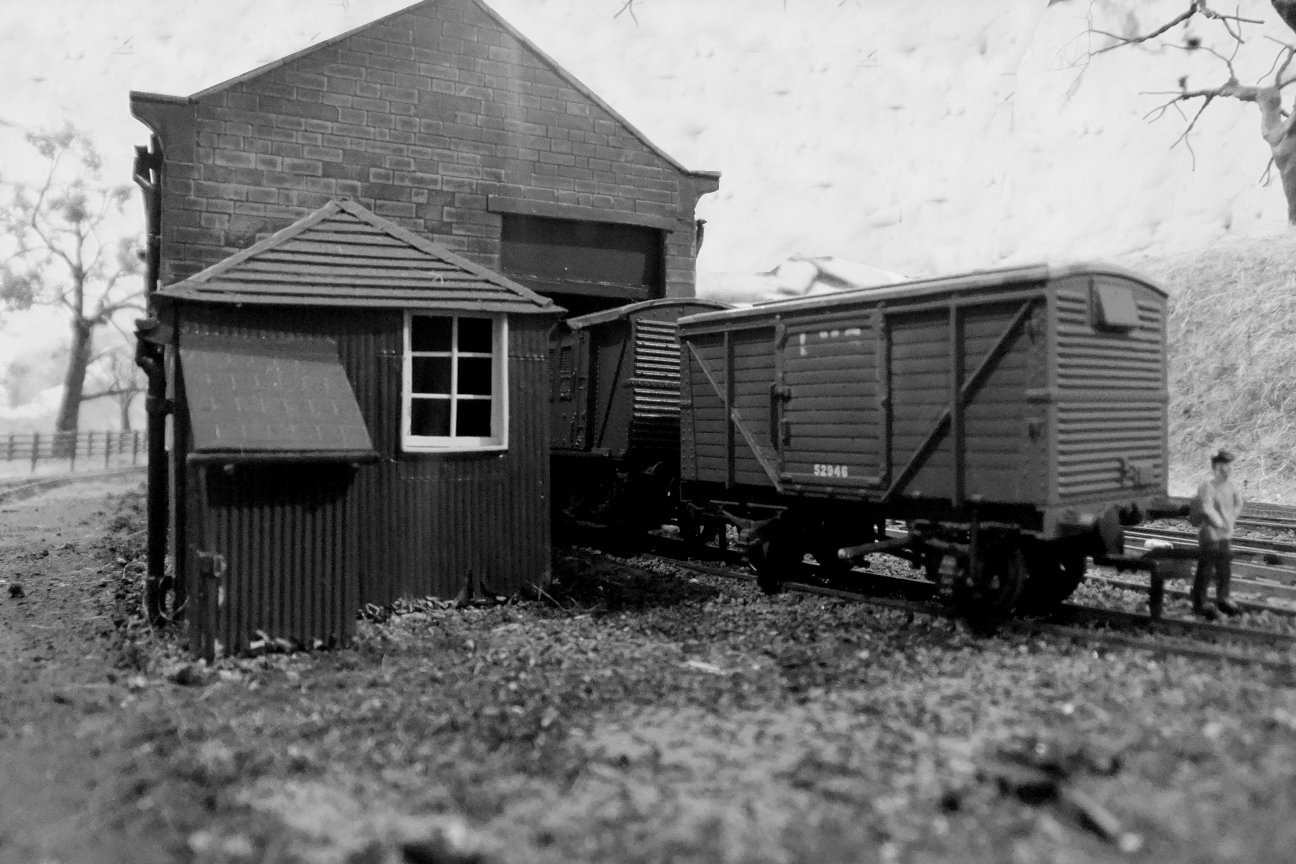
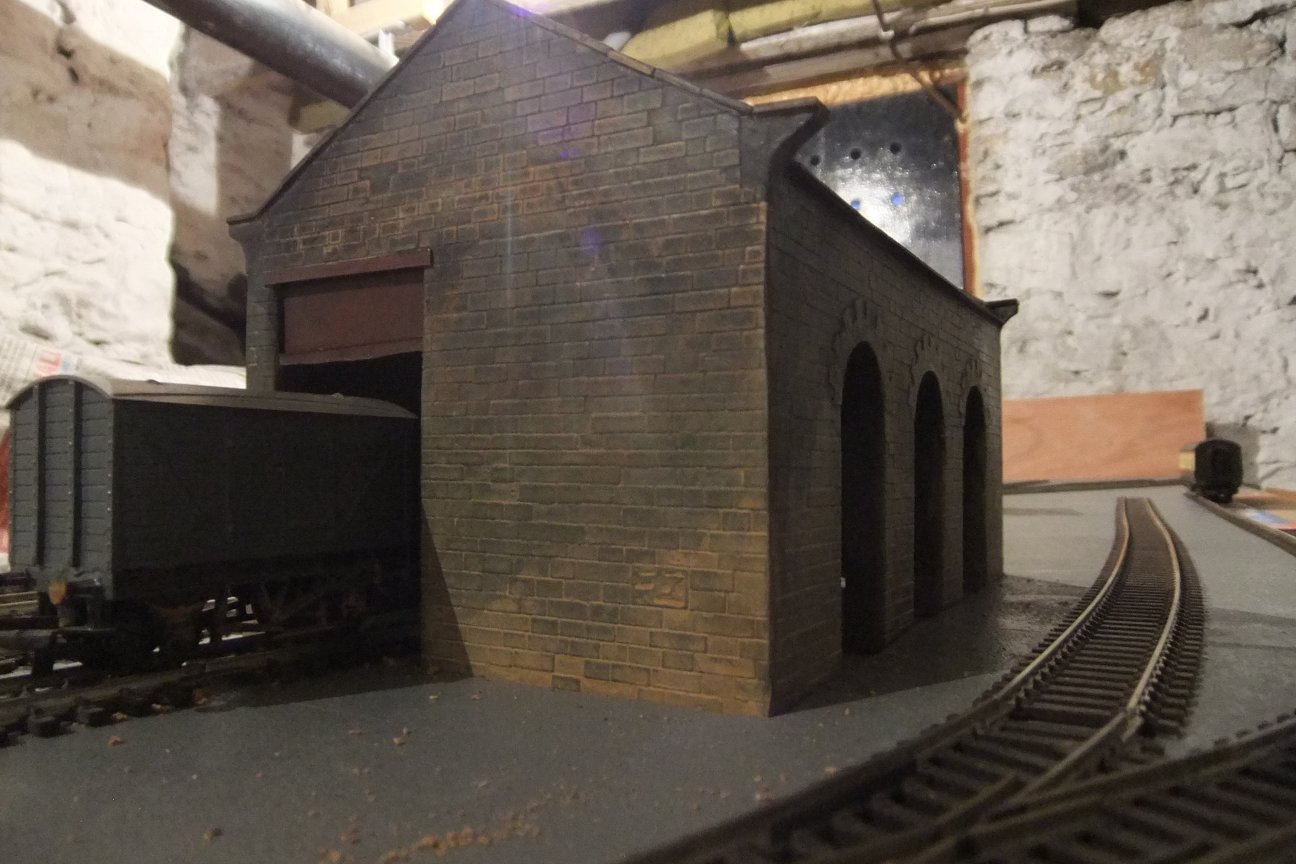
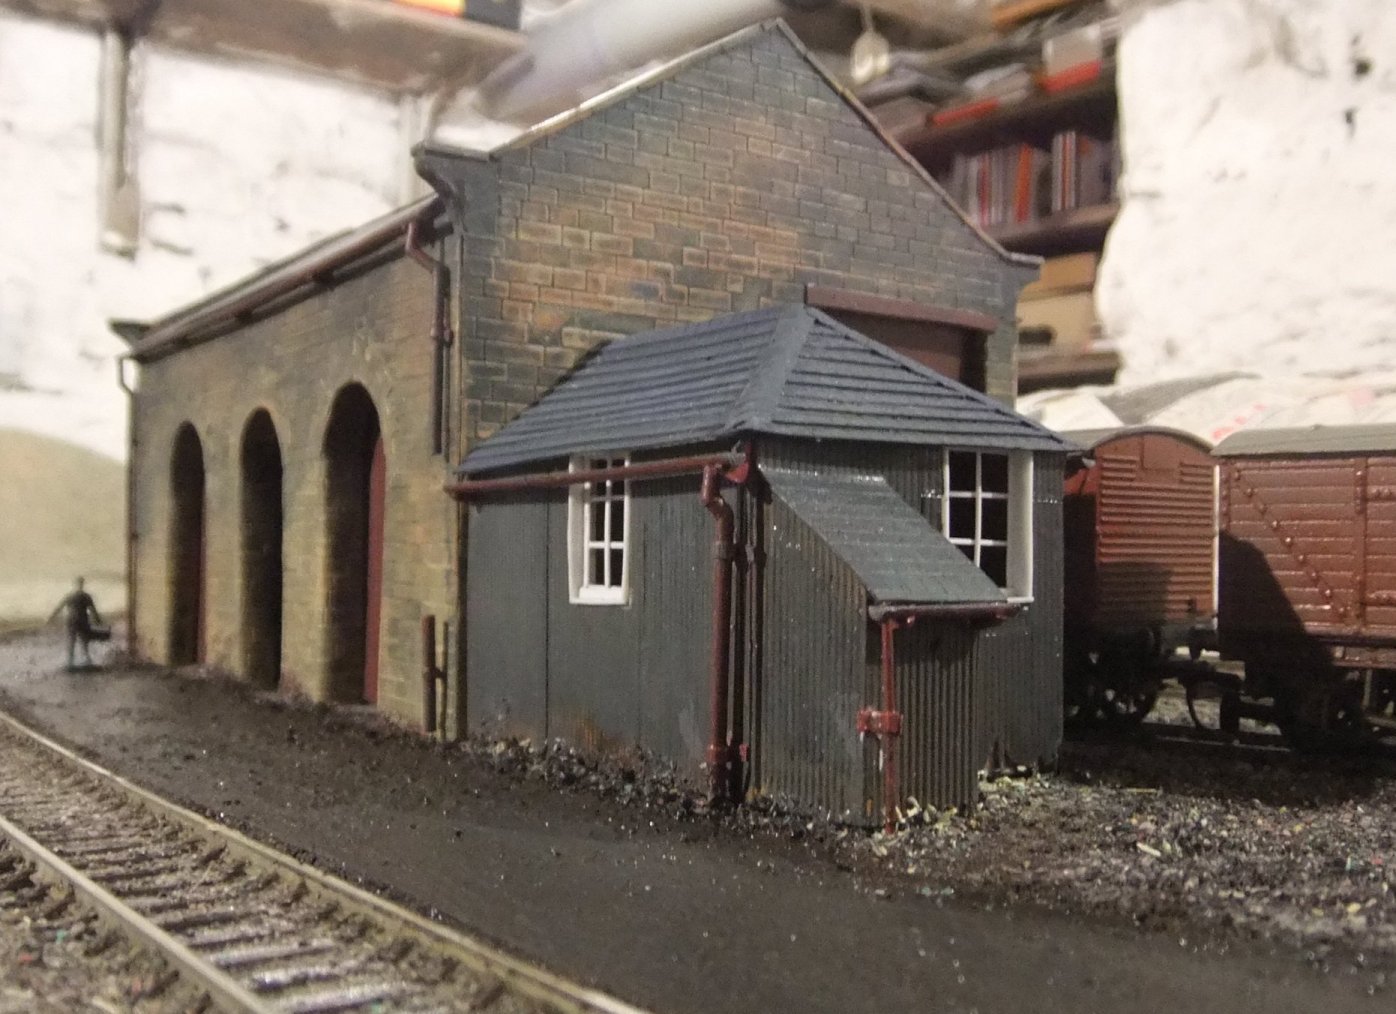
This is a picture of the completed goods shed, with it's associated office, which you can see being built below.
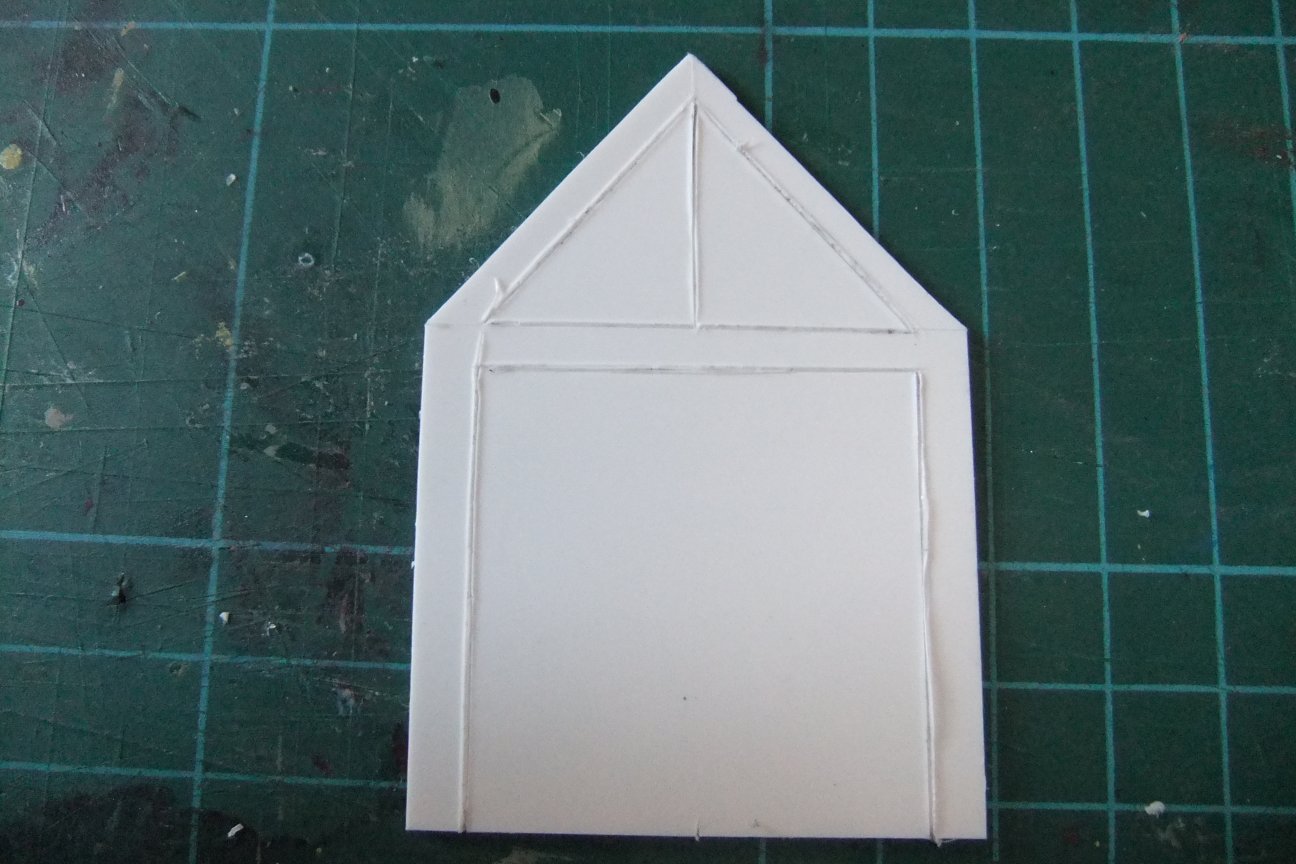
The Goods Office
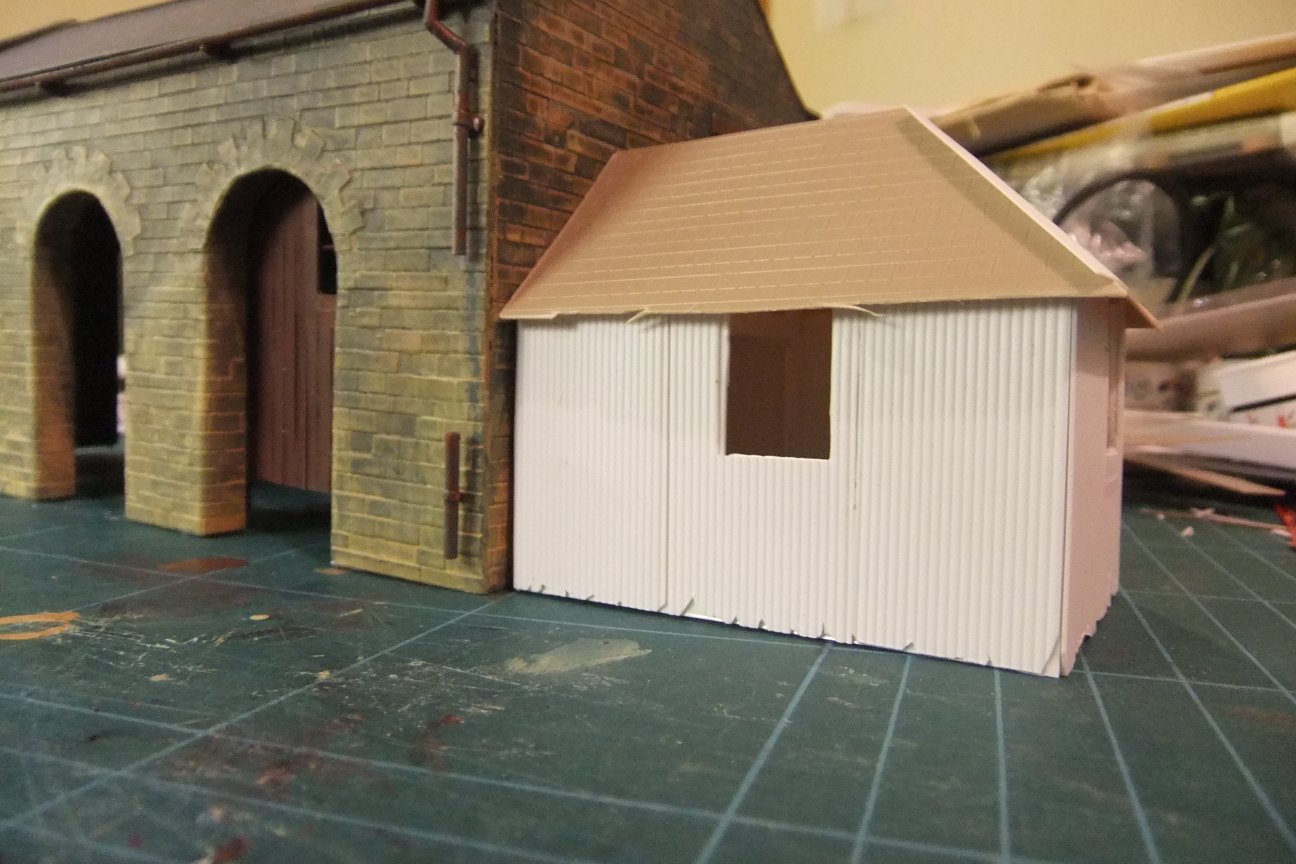
The Goods office was a corrugated iron structure attached to the main goods shed, and held the administrative office for all goods handling.
You can see it in this photo of the prototype goods shed.
(All photographs of the prototype used on this page are copyright Stan Roberts Collection / Peak Rail Association, used with permission)
Construction
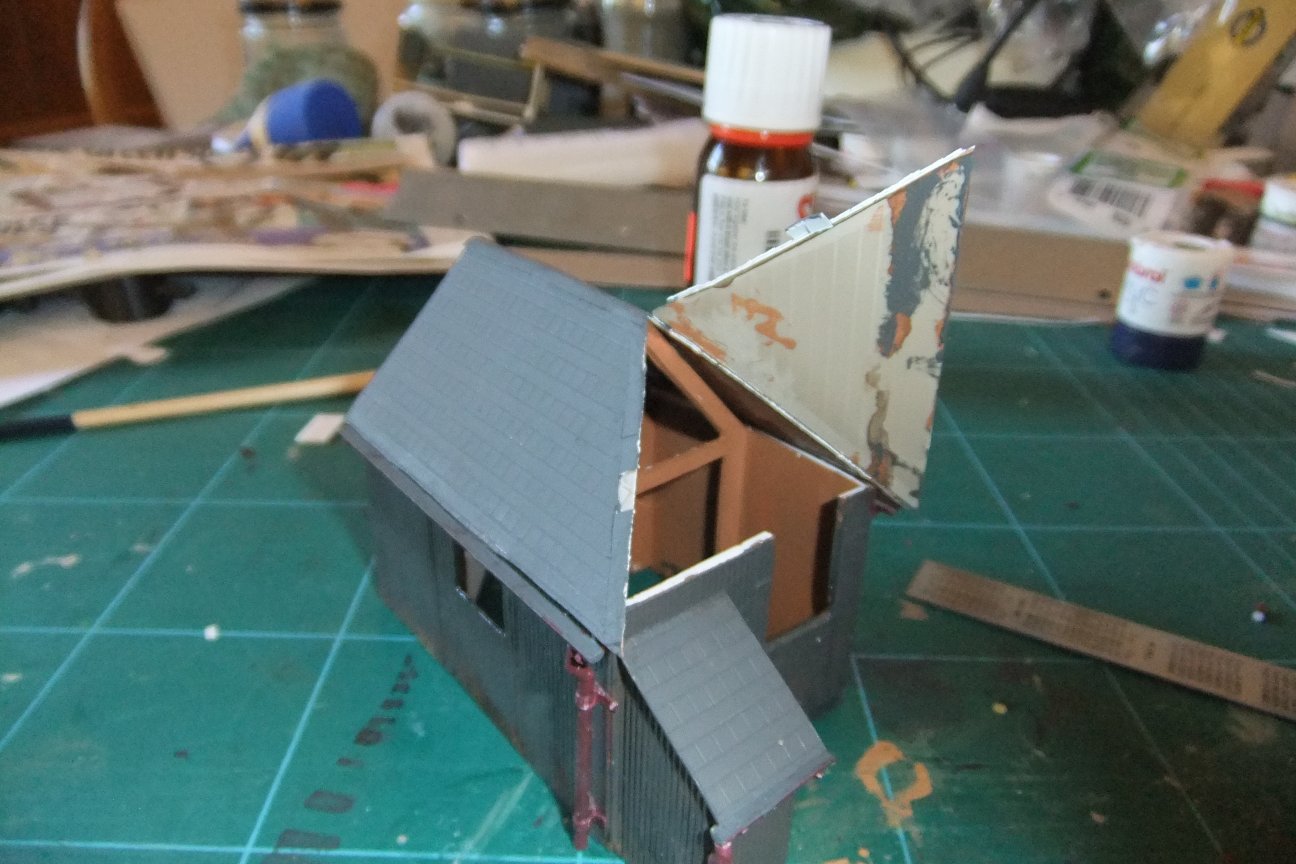
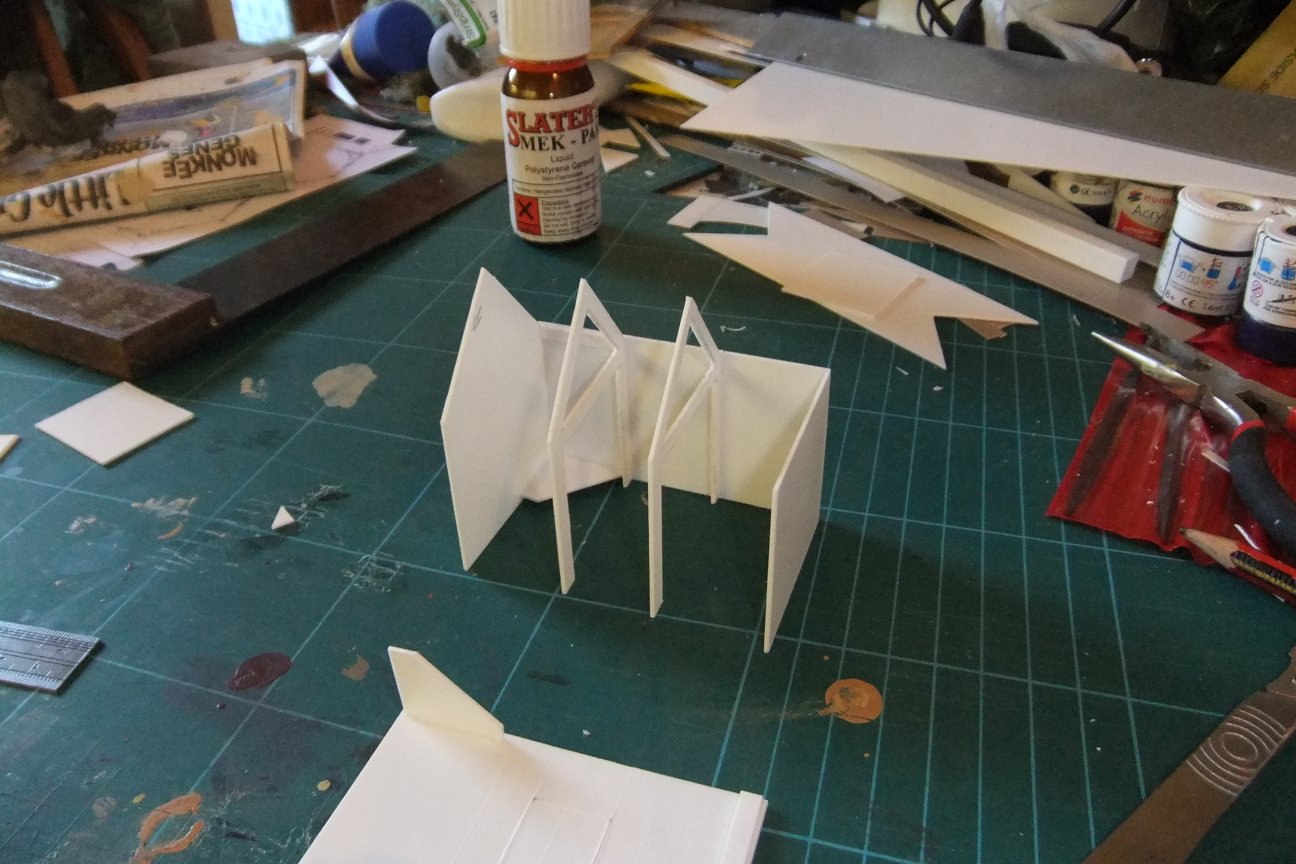
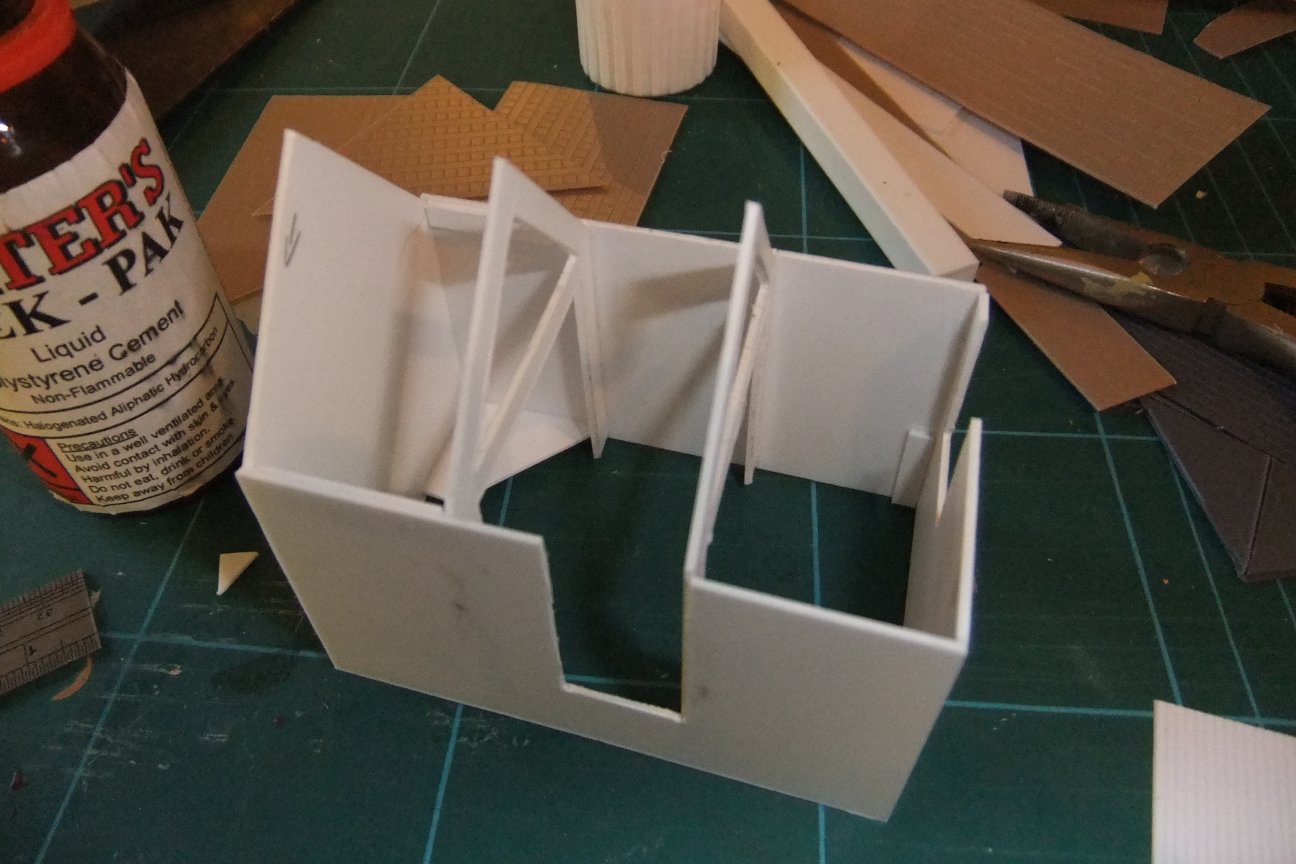
The Goods Office was built out of sections of 20thou (1mm) styrene sheet. These wer cut into the required shapes before joining and gluing together.
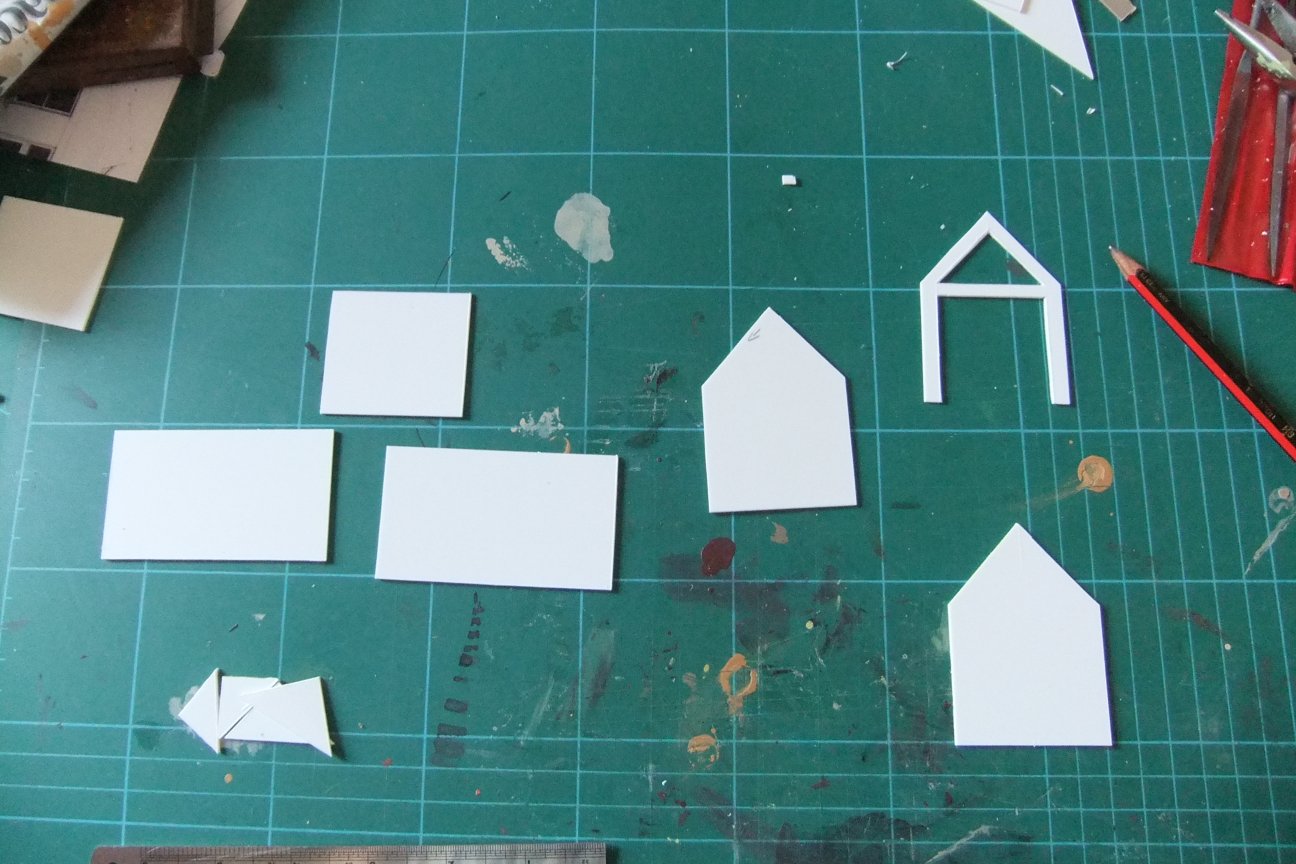
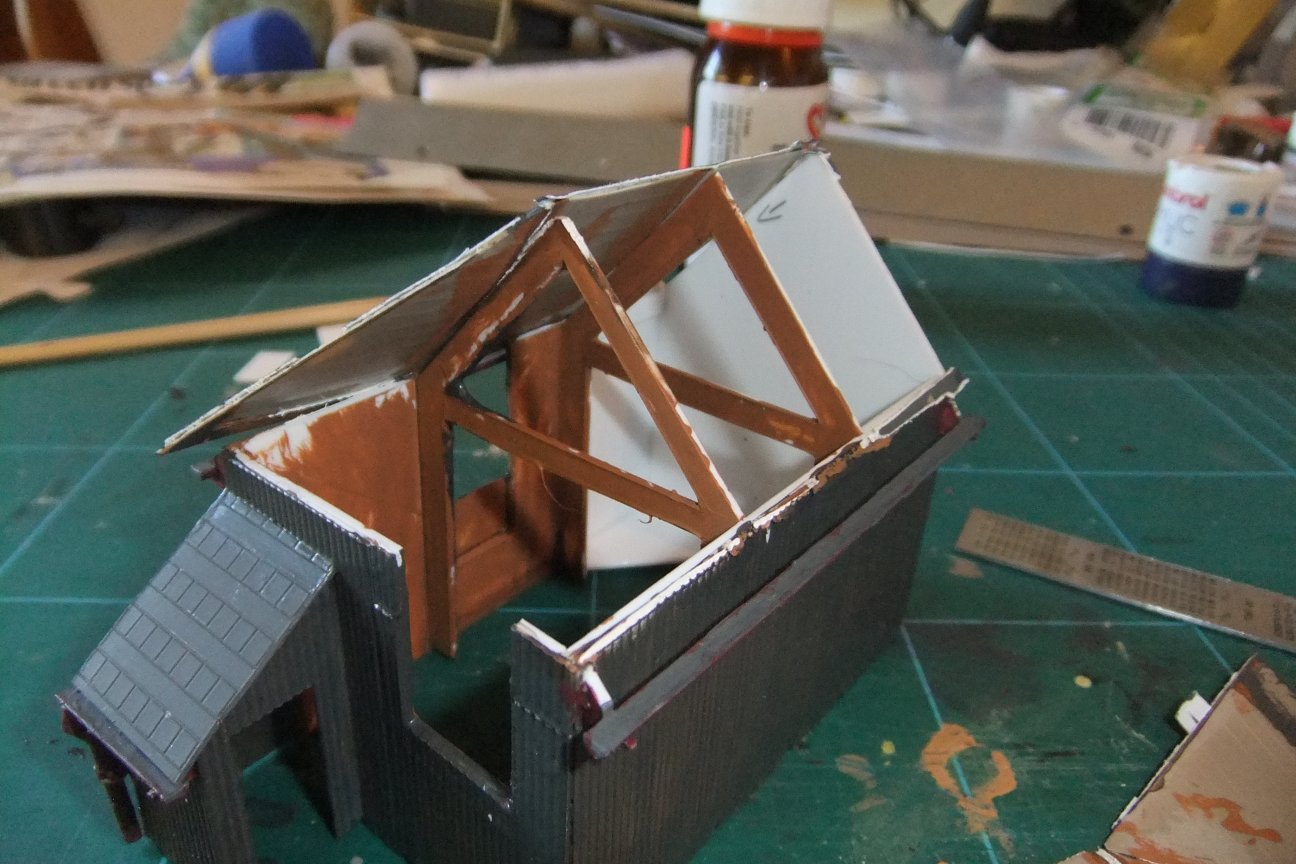
I cut a number of "A" frames to act as internal roof and wall supports
Here's the "A" frames in place with the two end walls and one side wall. You can see the triangular bracing to keep the corners square.
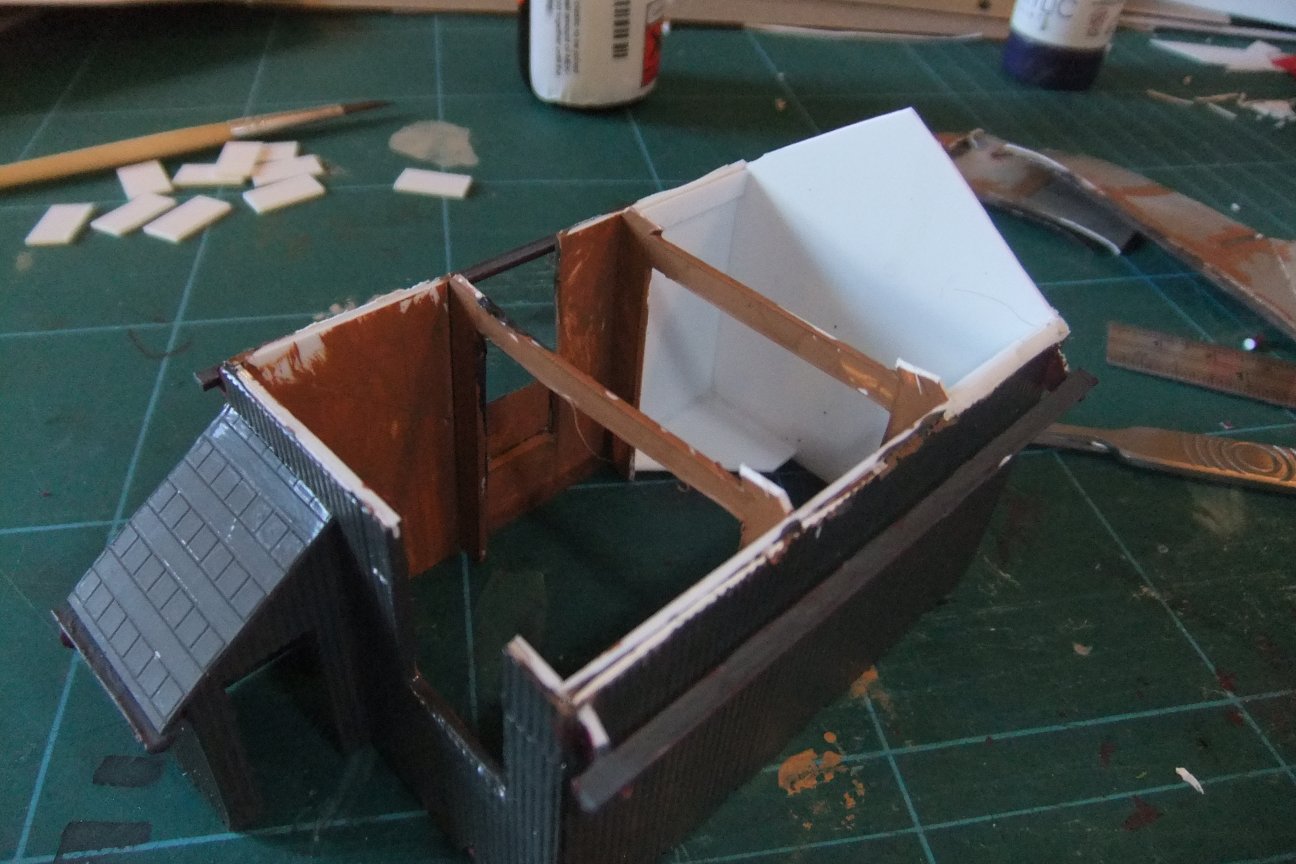
I cut out the window apertures in the walls
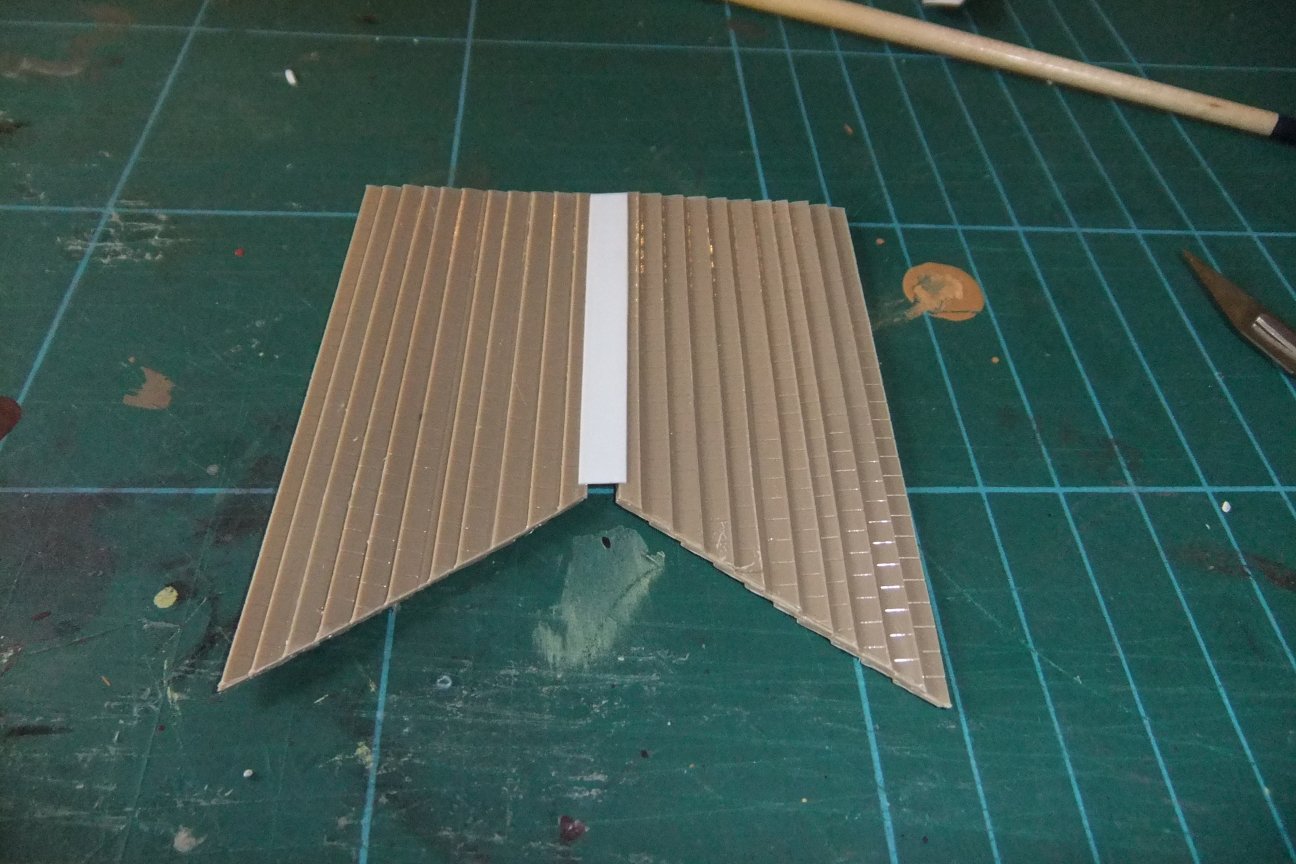
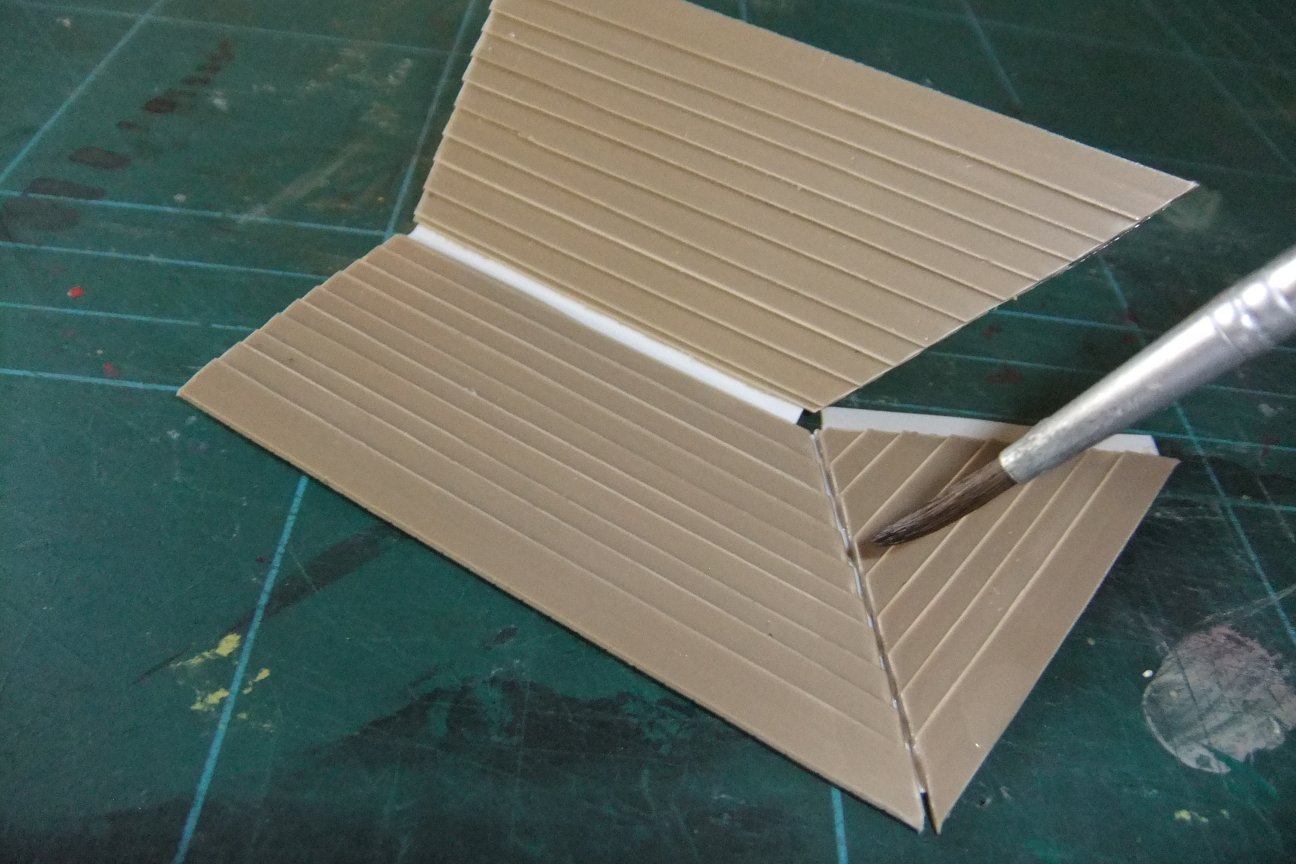
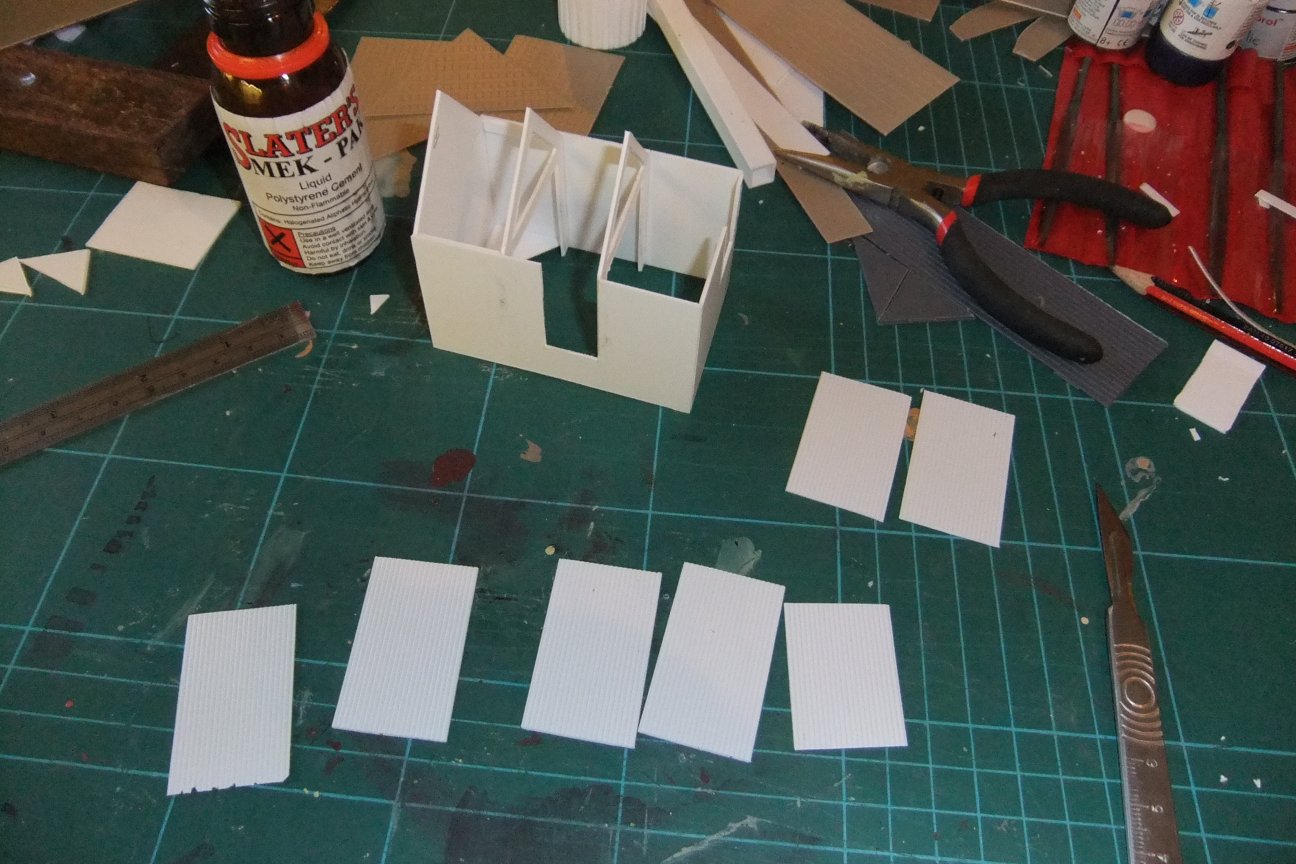
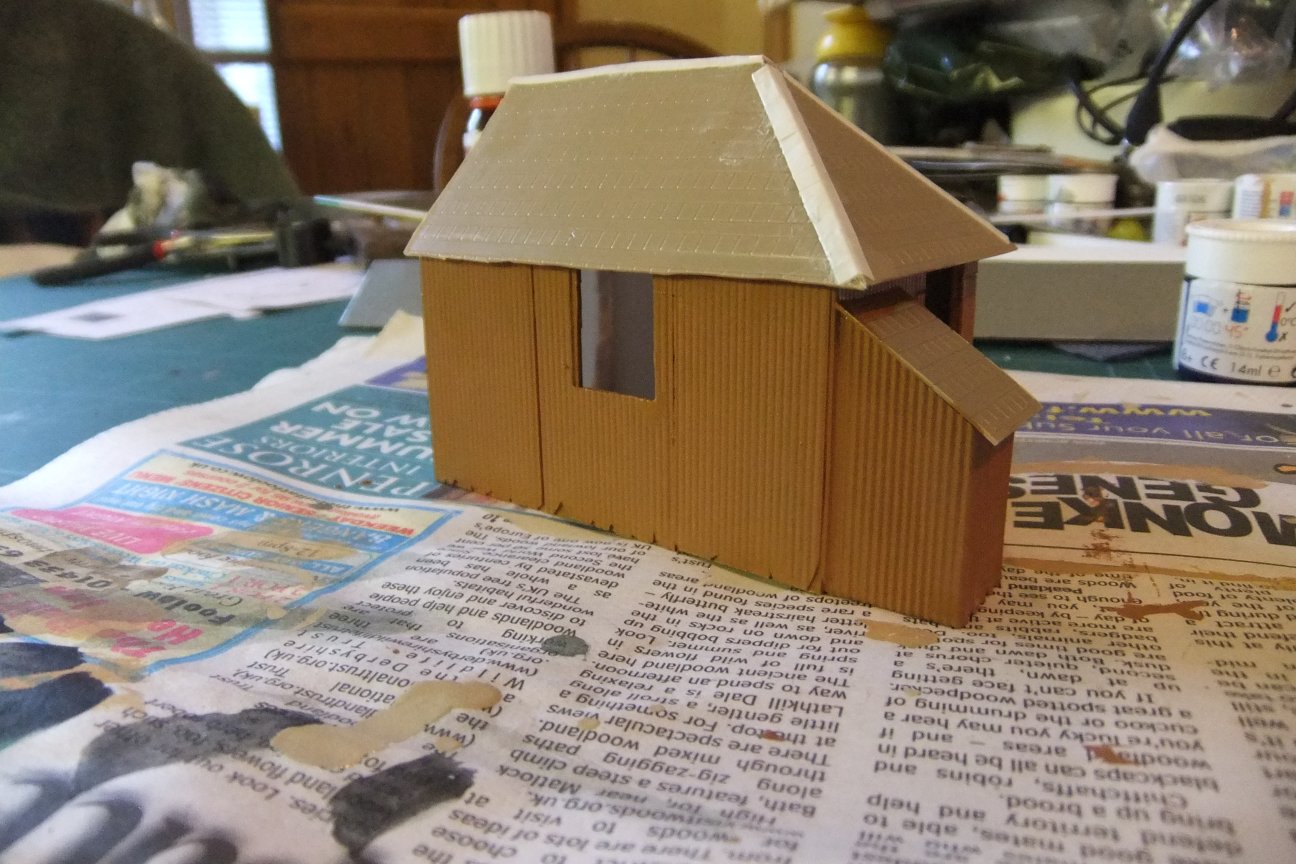
Now the basic shell is complete, I took some Slater's 4mm corrugated styrene and cut it into seperate sheets of a prototypical scale size.
Using a scalpel and file, I distressed the ends of some of the sheets, to give more of the look of real corrugated iron.
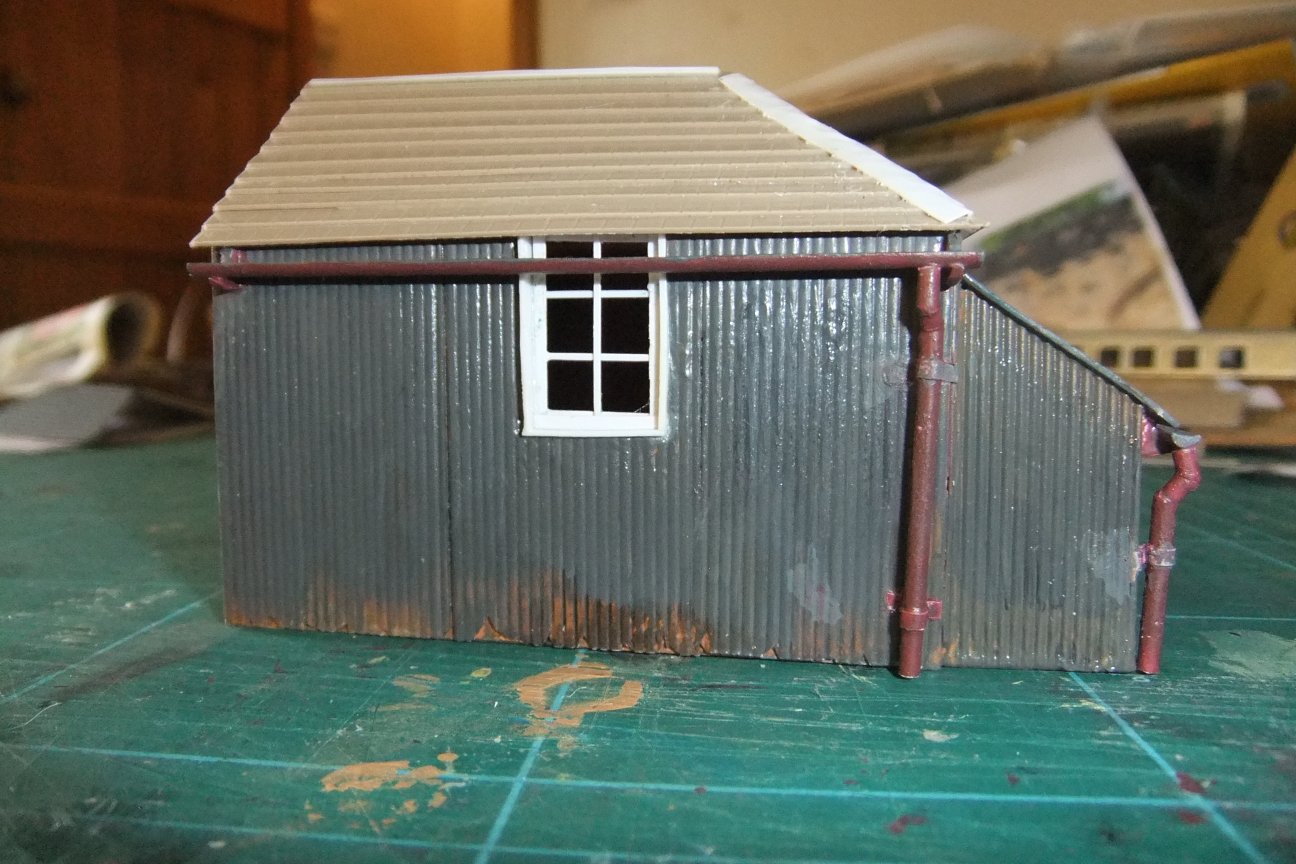
with all the corrugated sheet attached, and the roof complete, here's what the shed looked like:
Painting
I started the painting with an all over base coat of Humbrol Matt Acrylic No.62 Leather. I used this as I thought it was a good base for a rust coloured undercoat.
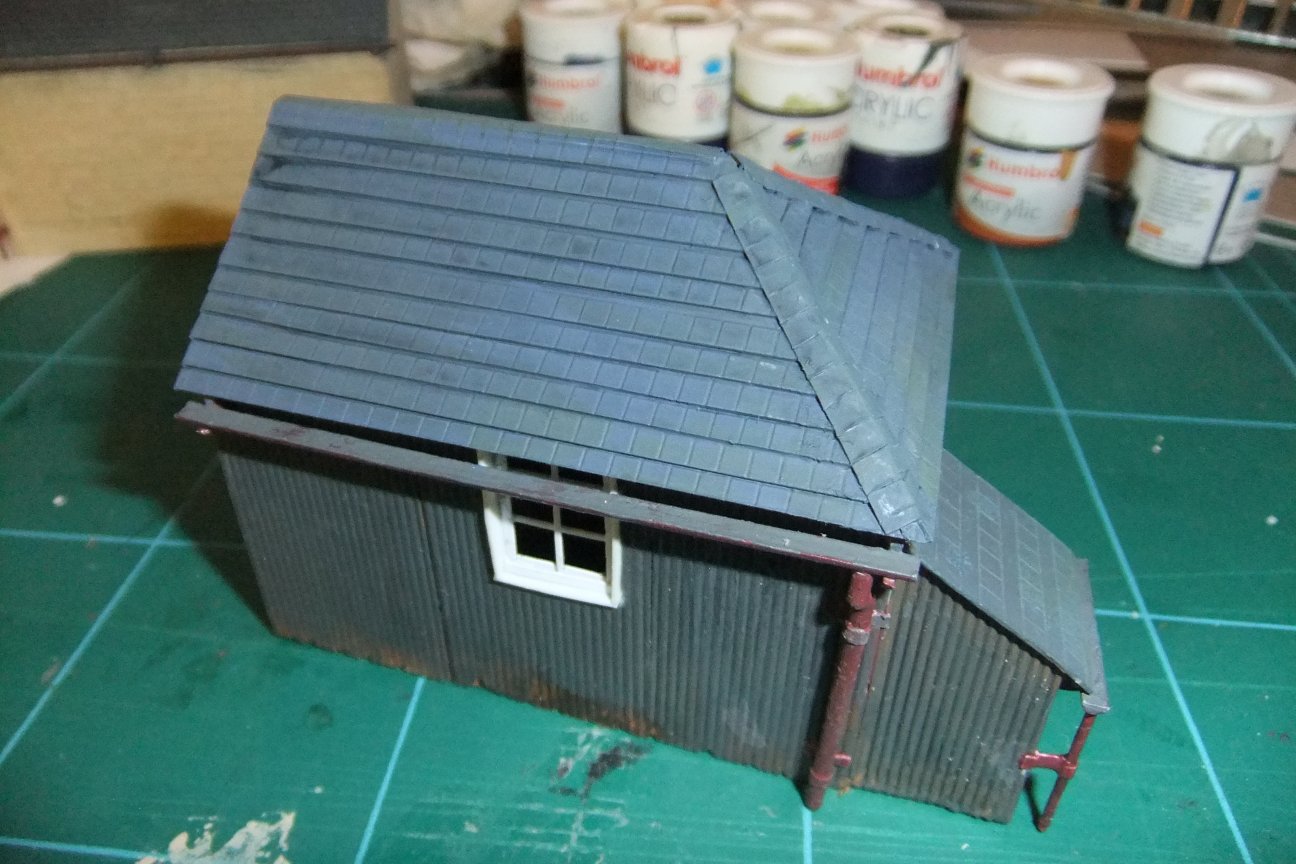
Over the top of this I used a mixture of Humbrol Matt Acrylic No.123 Dark Sea Grey, Humbrol Matt Acrylic No 32 Dark Grey, and Humbrol Matt Acrylic No.63 Sand, mixed and overpainted on the model, to create the various shades of paint and rust colours.
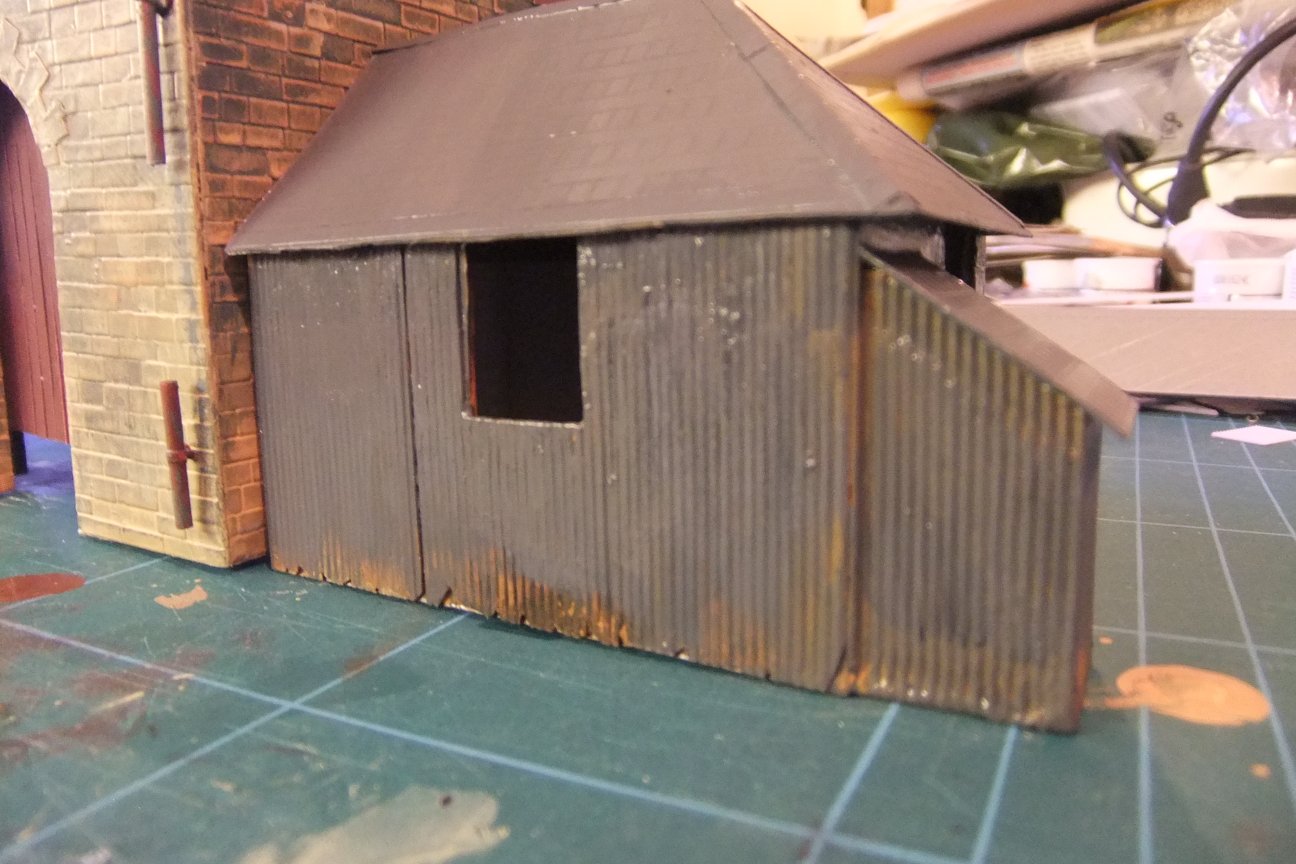
Having left this for a few days, and looking at the photos I'd taken, I decided I was unhappy with the shape of the roof, so I carefully dismantled the existing one, and replaced it with a lower, less sharply raked version, which looks much better.